Wiper Motor Repair
The Datsun 1200 windshield/windscreen Wiper Motor is very reliable. A 38-year-old unit was disassembled and no problems found. If the motor is still working, just lube the linkage, this will make it work well. However, if you wish to repair a broken one, here is how you can dissamble and inspect it.
Gallery
Also see: Wiper Motor Photo Gallery * 59-image photo gallery
http://i297.photobucket.com/albums/mm219/ddgonzal/Datsun%201200/wiper/th_20100207111152DSC08492.jpg http://i297.photobucket.com/albums/mm219/ddgonzal/Datsun%201200/wiper/th_20100207113115DSC08495.jpg
Overview
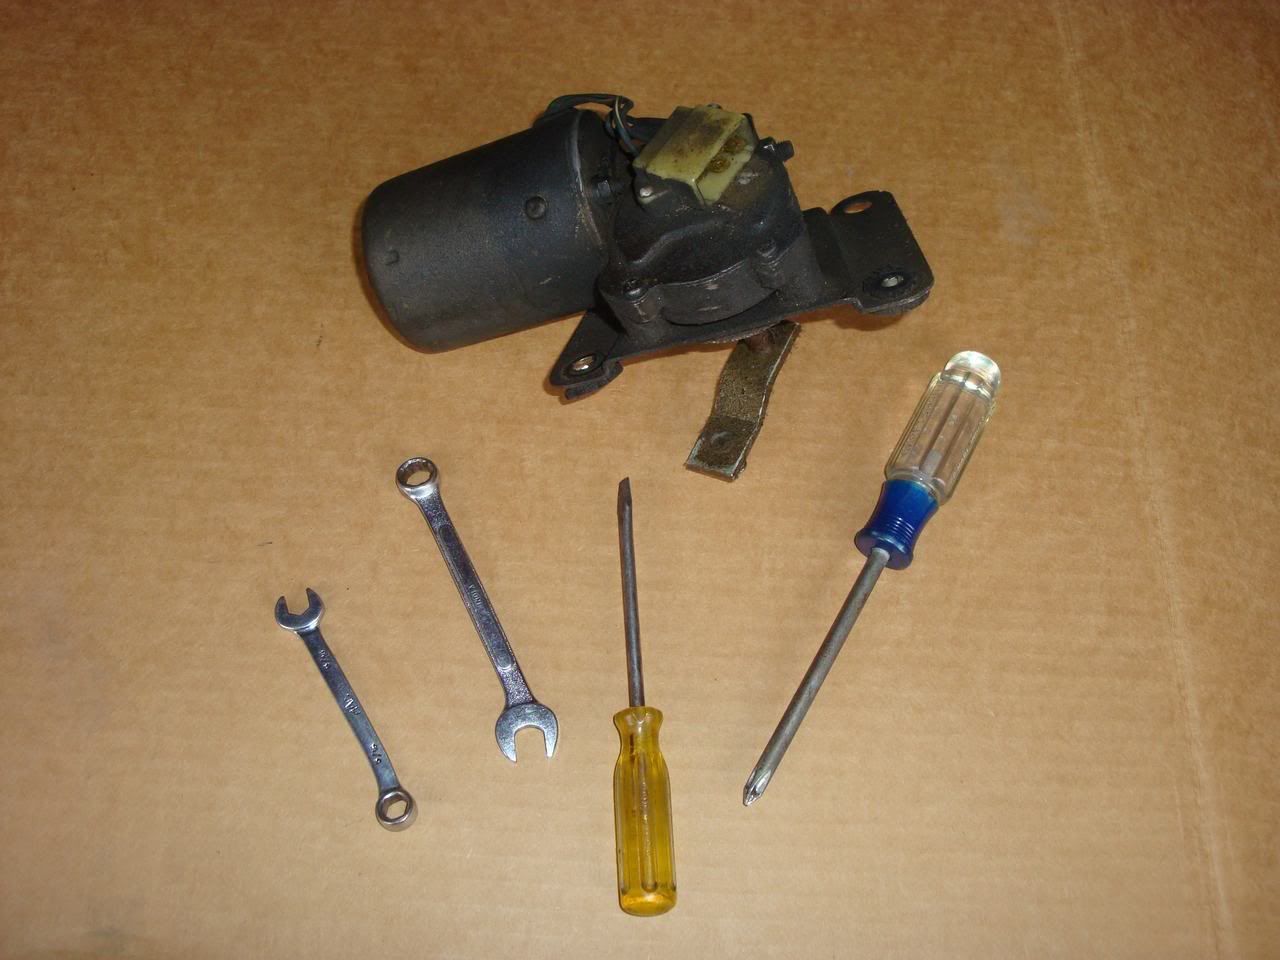
These are the only tools you'll need: Flat and philips screwdrivers, 8mm and 10mm wrenches:
http://i297.photobucket.com/albums/mm219/ddgonzal/Datsun%201200/wiper/20100207101824DSC08422.jpg
Removal
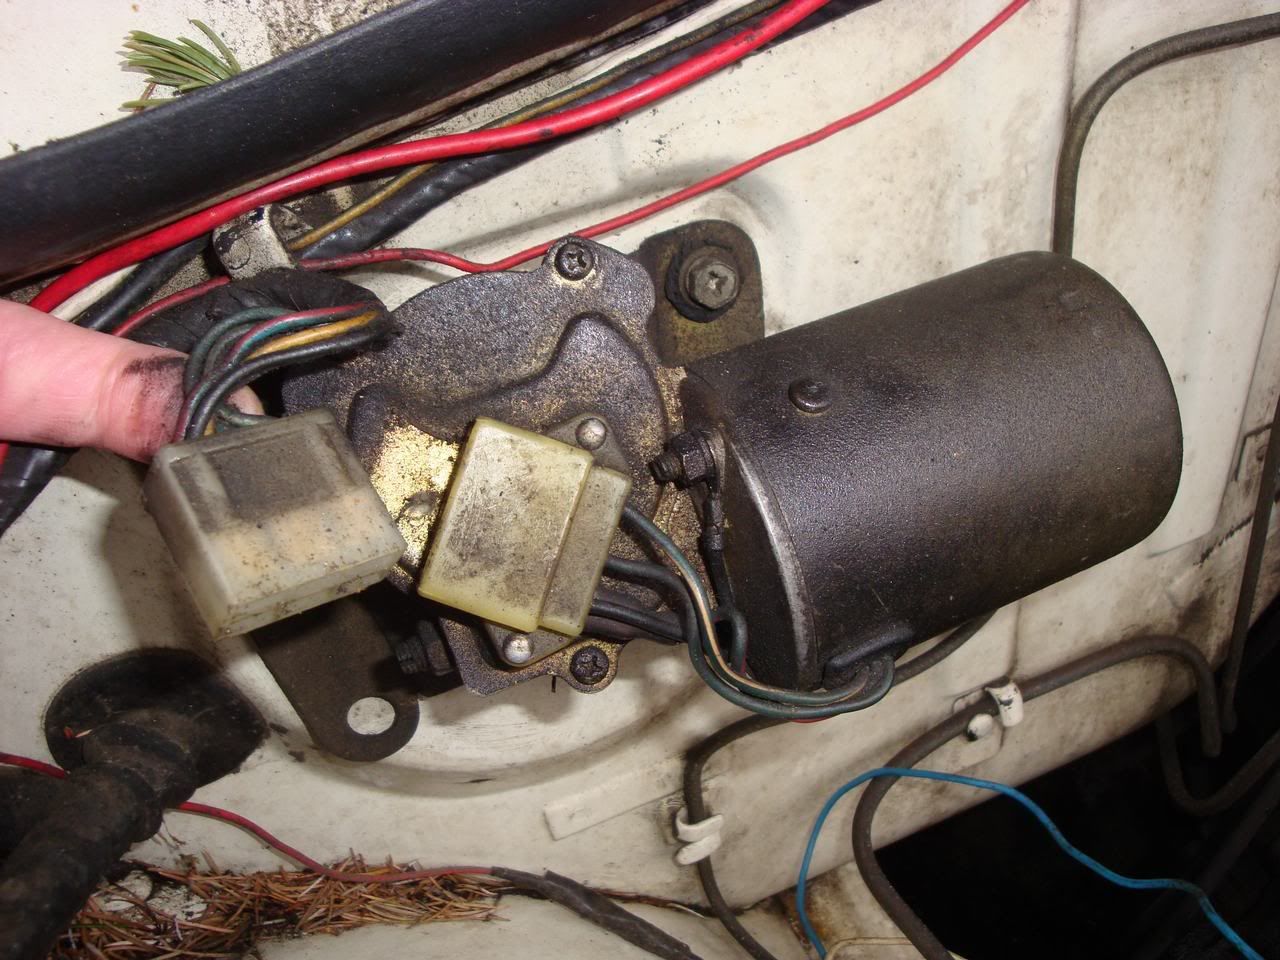
In the engine compartment, pull the connector apart. There is no catch or locking tab, just wiggle it straight apart.
http://i297.photobucket.com/albums/mm219/ddgonzal/Datsun%201200/wiper/20100207100906DSC08413.jpg
Go into the cabin, on the passenger side, and look under the glove box for this cover:
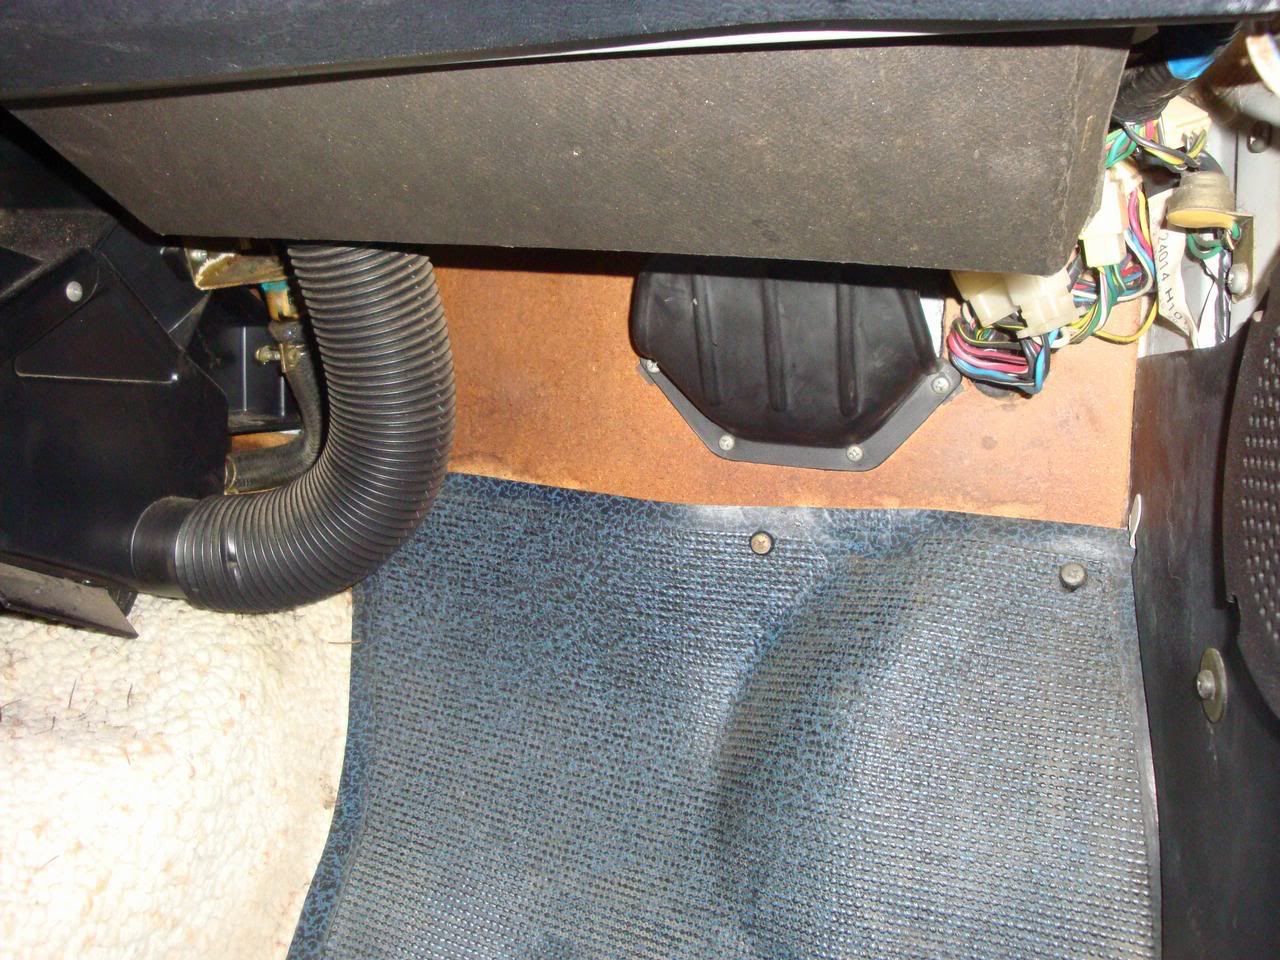
http://i297.photobucket.com/albums/mm219/ddgonzal/Datsun%201200/wiper/20100207101028DSC08414.jpg
Remove these four screws on the firewall:
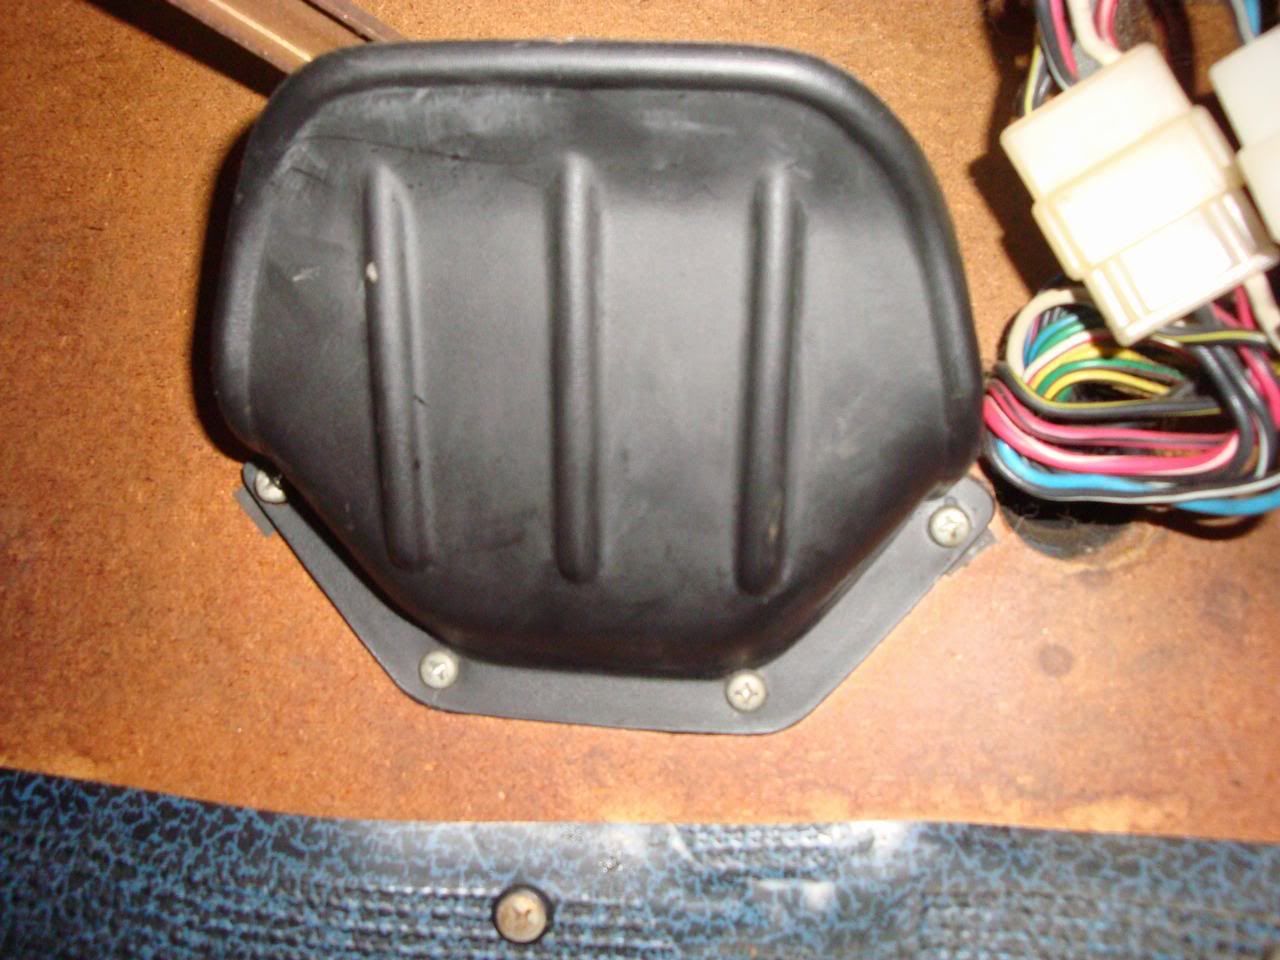
http://i297.photobucket.com/albums/mm219/ddgonzal/Datsun%201200/wiper/20100207101038DSC08415.jpg
This will expose the motor shaft and passenger-side linkage
http://i297.photobucket.com/albums/mm219/ddgonzal/Datsun%201200/wiper/th_20100207101403DSC08419.jpg
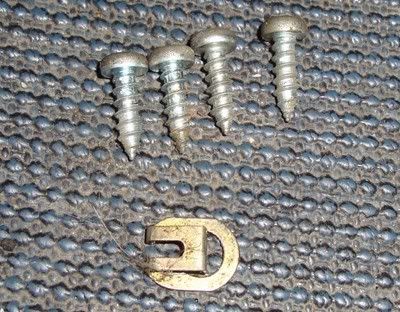
Pop the clip off the linkage with a flat screwdriver
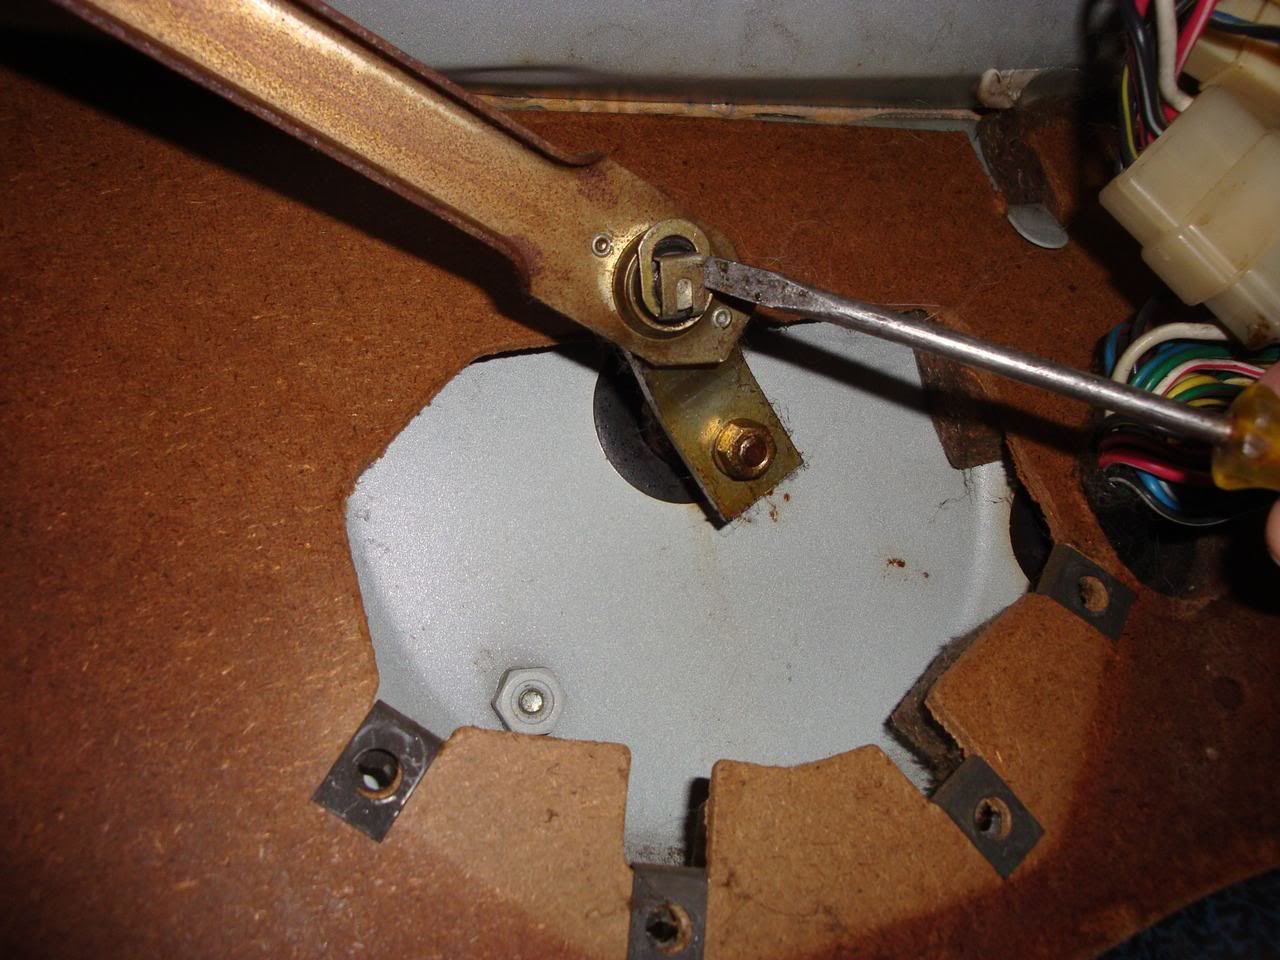
http://i297.photobucket.com/albums/mm219/ddgonzal/Datsun%201200/wiper/20100207101244DSC08418.jpg
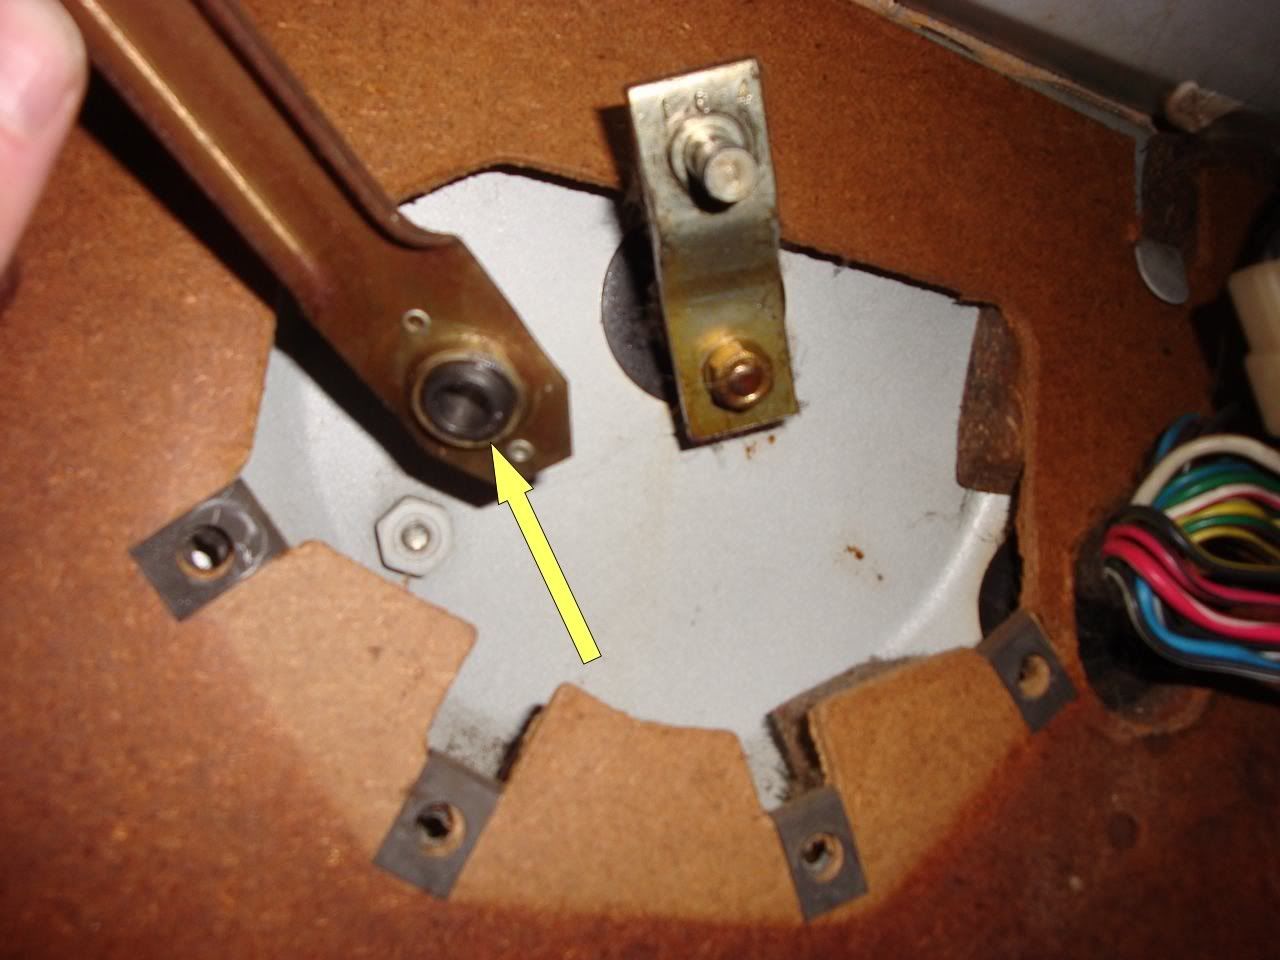
This is where to lubricate the linkage:
http://i297.photobucket.com/albums/mm219/ddgonzal/Datsun%201200/wiper/20100207101424DSC08420.jpg
The ball-end needs lubrication inside and out. Roll grease in as you would do a wheel bearing. Wipe off excess.
Now that it is disconnected from the inside linkage...
Remove the three 10mm screws holding it to the firewall.
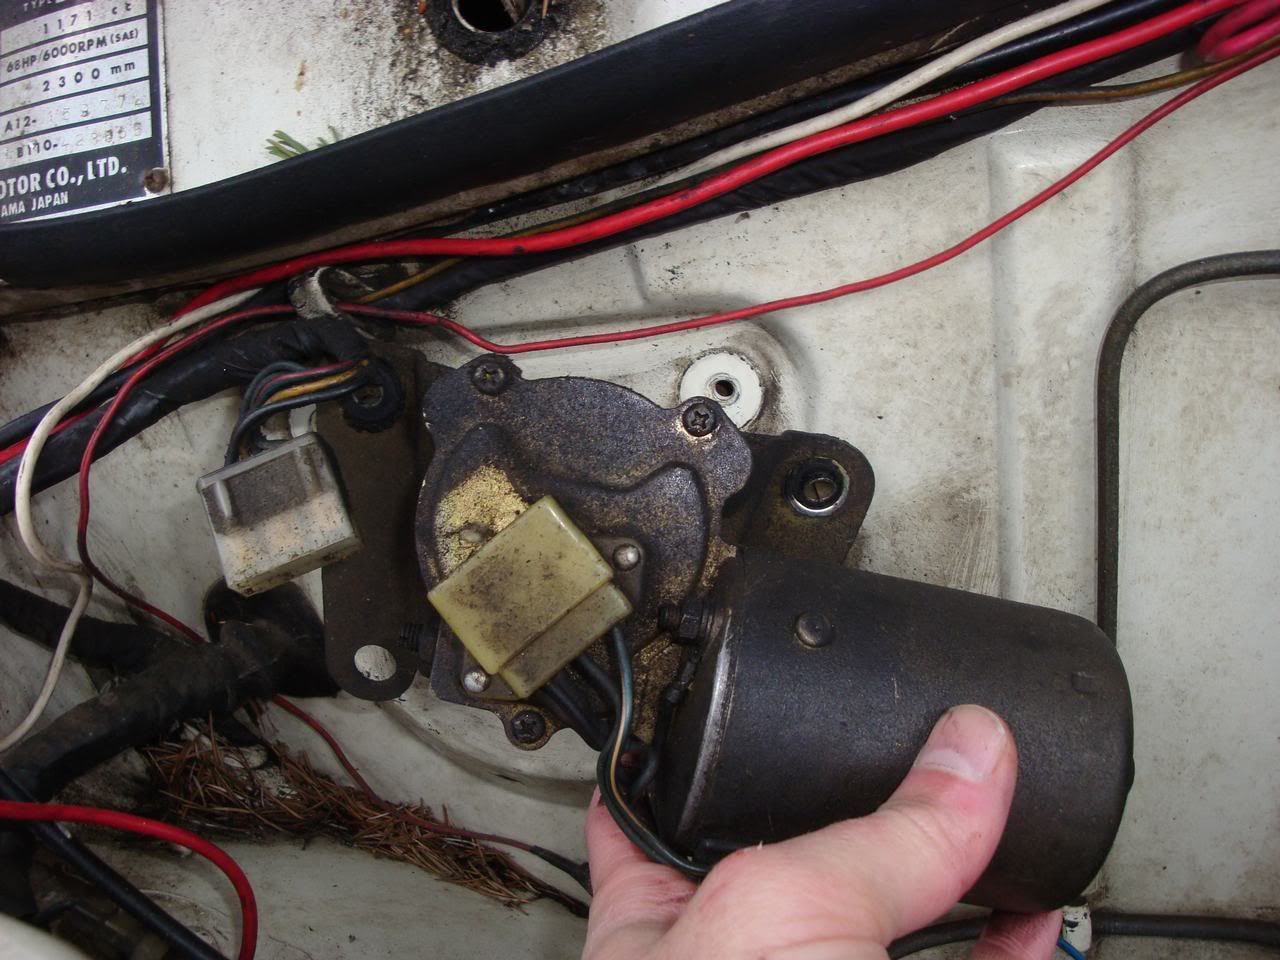
Then pull/pop/wiggle it loose, as the rubber tends to stick after 30 years...
http://i297.photobucket.com/albums/mm219/ddgonzal/Datsun%201200/wiper/20100207101615DSC08421.jpg
Tilt the motor so the shaft linkage clears, and remove from the firewall
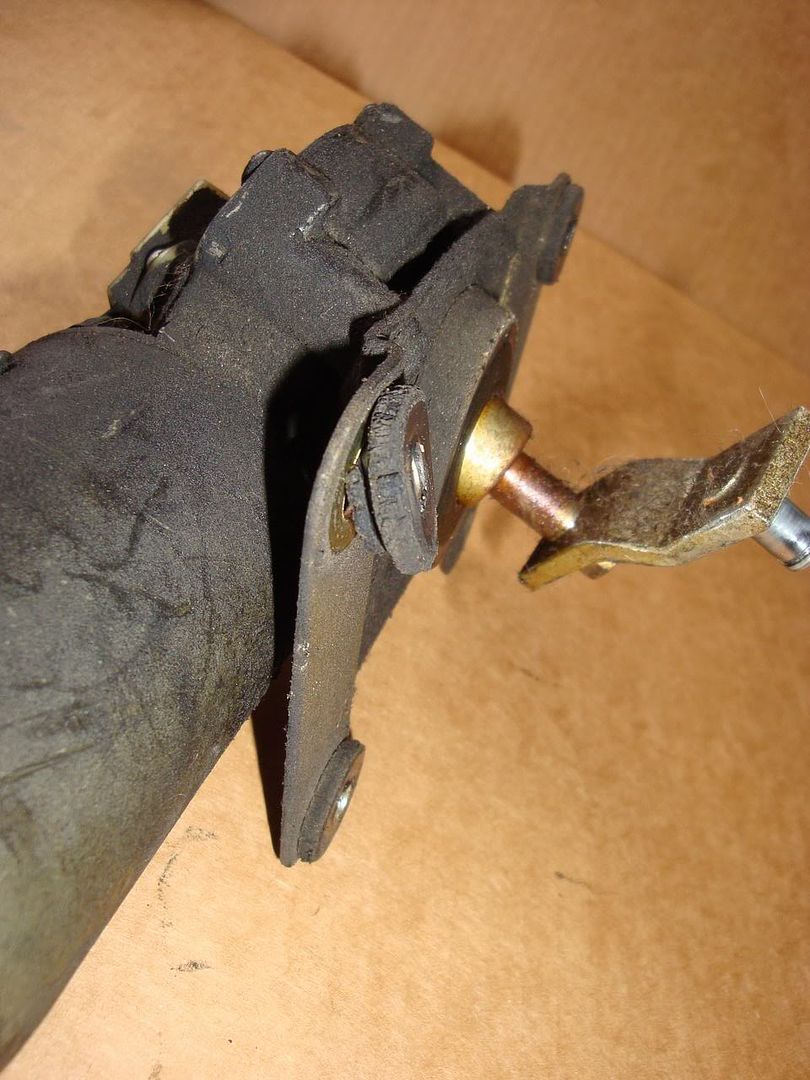
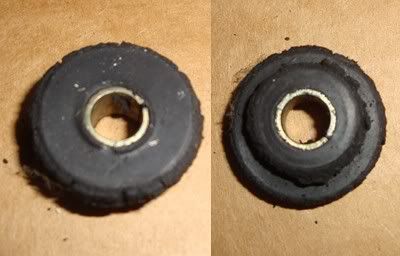
Be careful not to lose any of the three rubber mounts.
http://i297.photobucket.com/albums/mm219/ddgonzal/Datsun%201200/wiper/20100207102053DSC08435.jpg
There are only three, although there are four holes in the motor bracket.
http://i297.photobucket.com/albums/mm219/ddgonzal/Datsun%201200/wiper/20100207103344DSC08438.jpg
Cleaning
15 minutes with a toothbrush and a spray can of ether will get it generally clean. This is important so that when you open the motor dust and grime will not contaminate it.
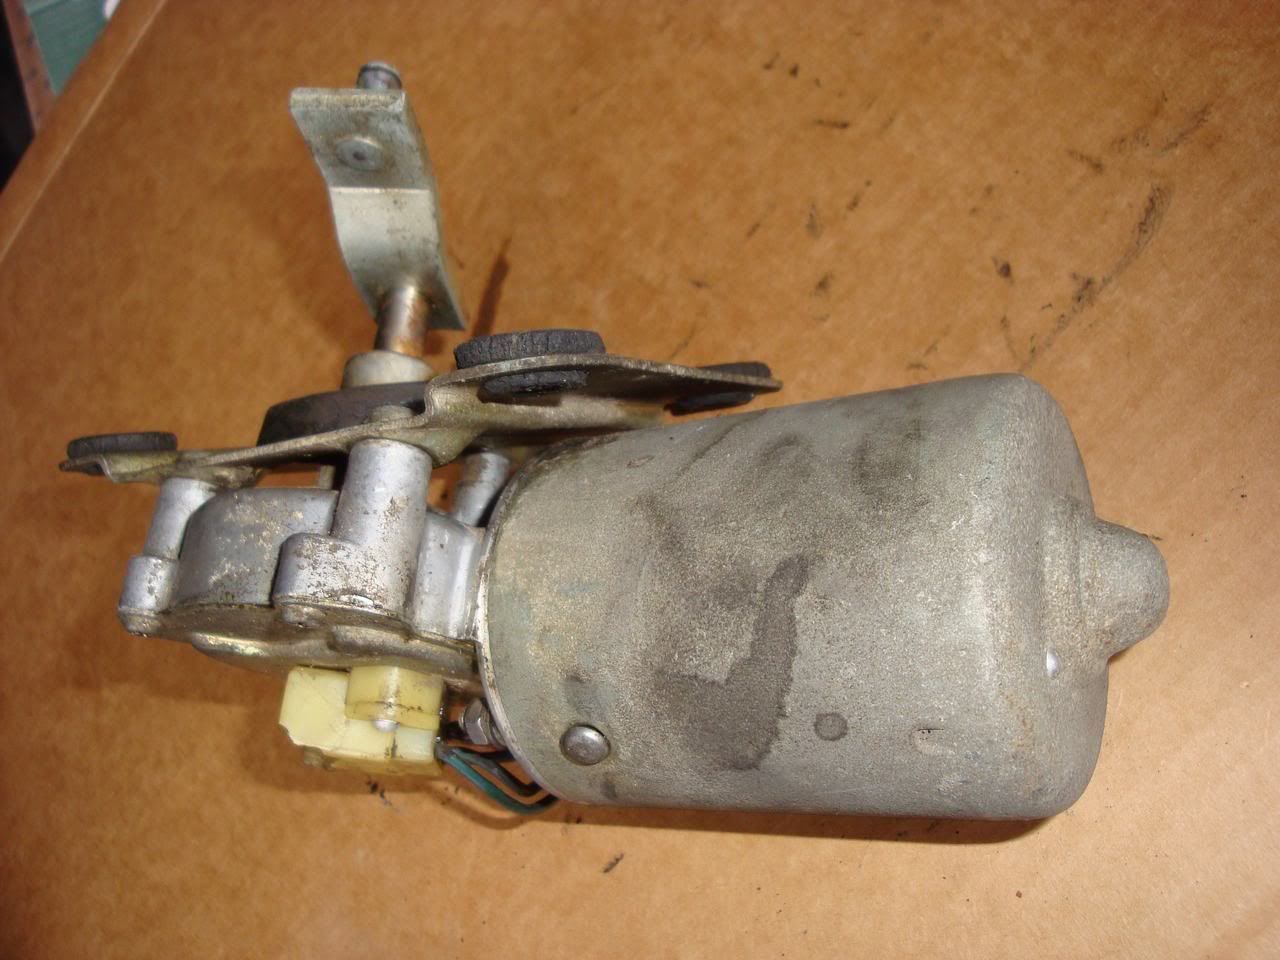
http://i297.photobucket.com/albums/mm219/ddgonzal/Datsun%201200/wiper/20100207103601DSC08449.jpg
Be careful not to drop it, or you may break the connector like I did:
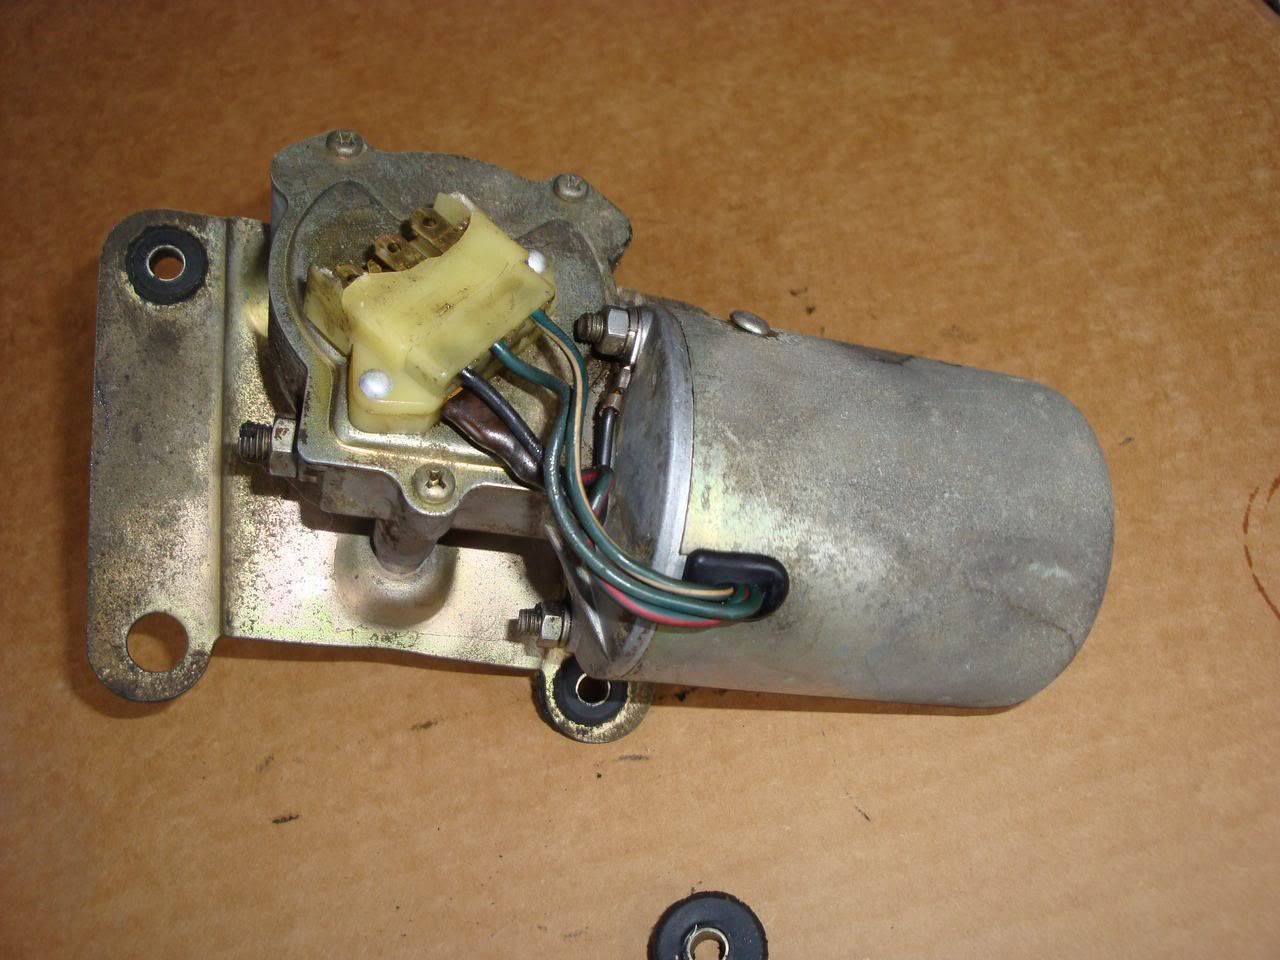
http://i297.photobucket.com/albums/mm219/ddgonzal/Datsun%201200/wiper/20100207103332DSC08436.jpg
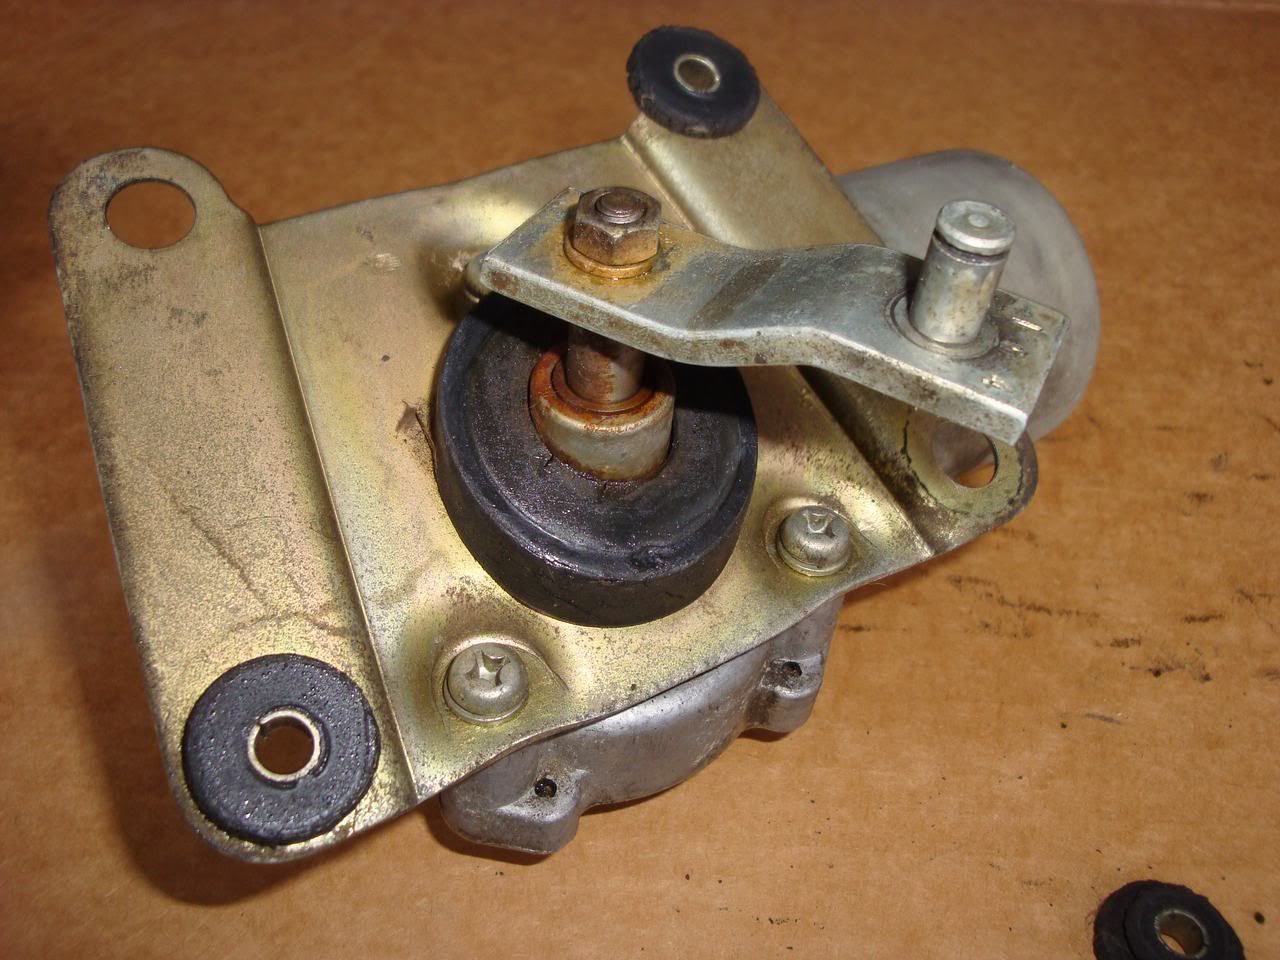
http://i297.photobucket.com/albums/mm219/ddgonzal/Datsun%201200/wiper/20100207103444DSC08446.jpg
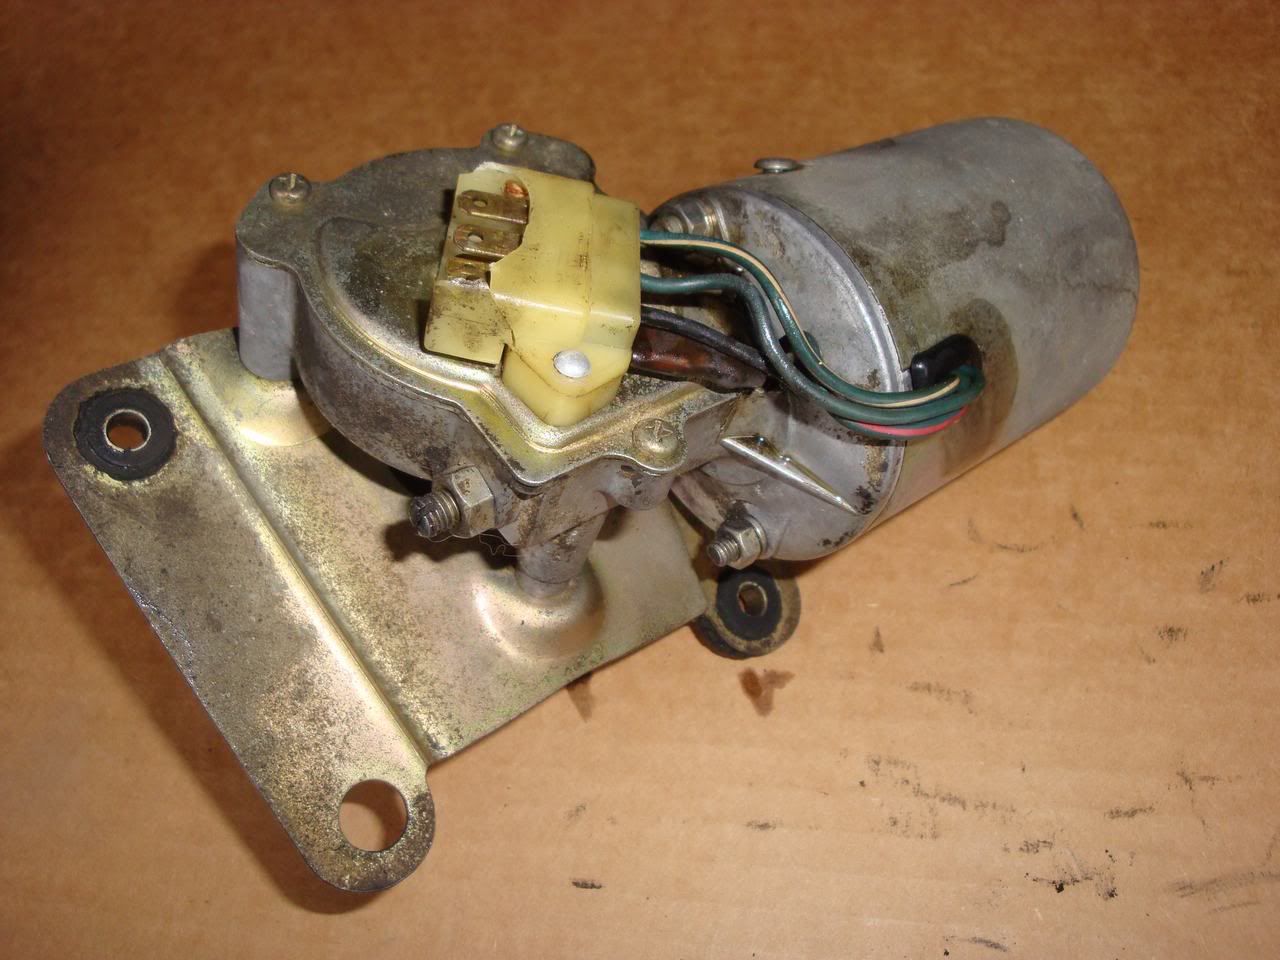
http://i297.photobucket.com/albums/mm219/ddgonzal/Datsun%201200/wiper/20100207103458DSC08448.jpg
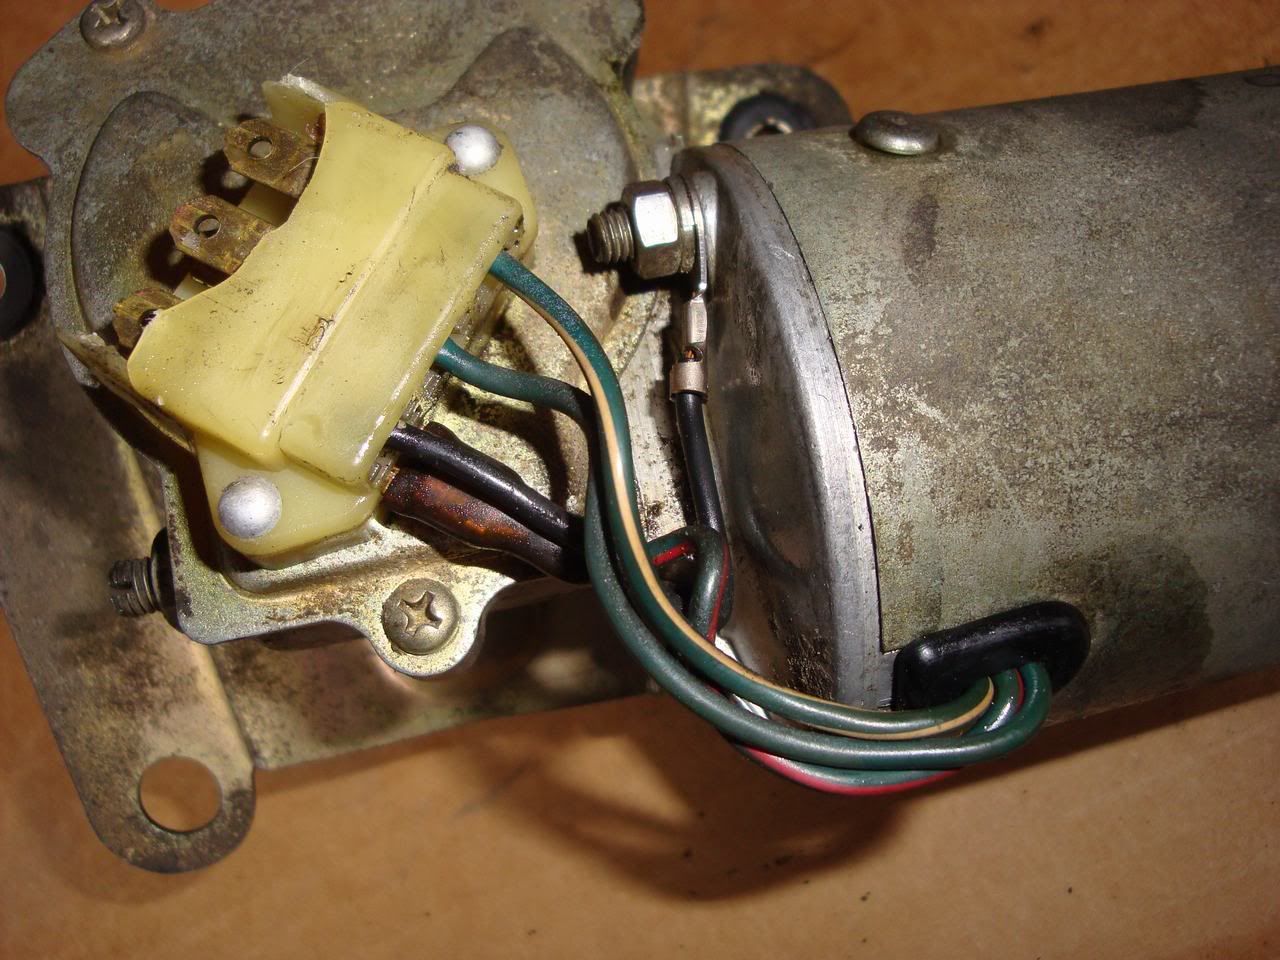
http://i297.photobucket.com/albums/mm219/ddgonzal/Datsun%201200/wiper/20100207103619DSC08450.jpg
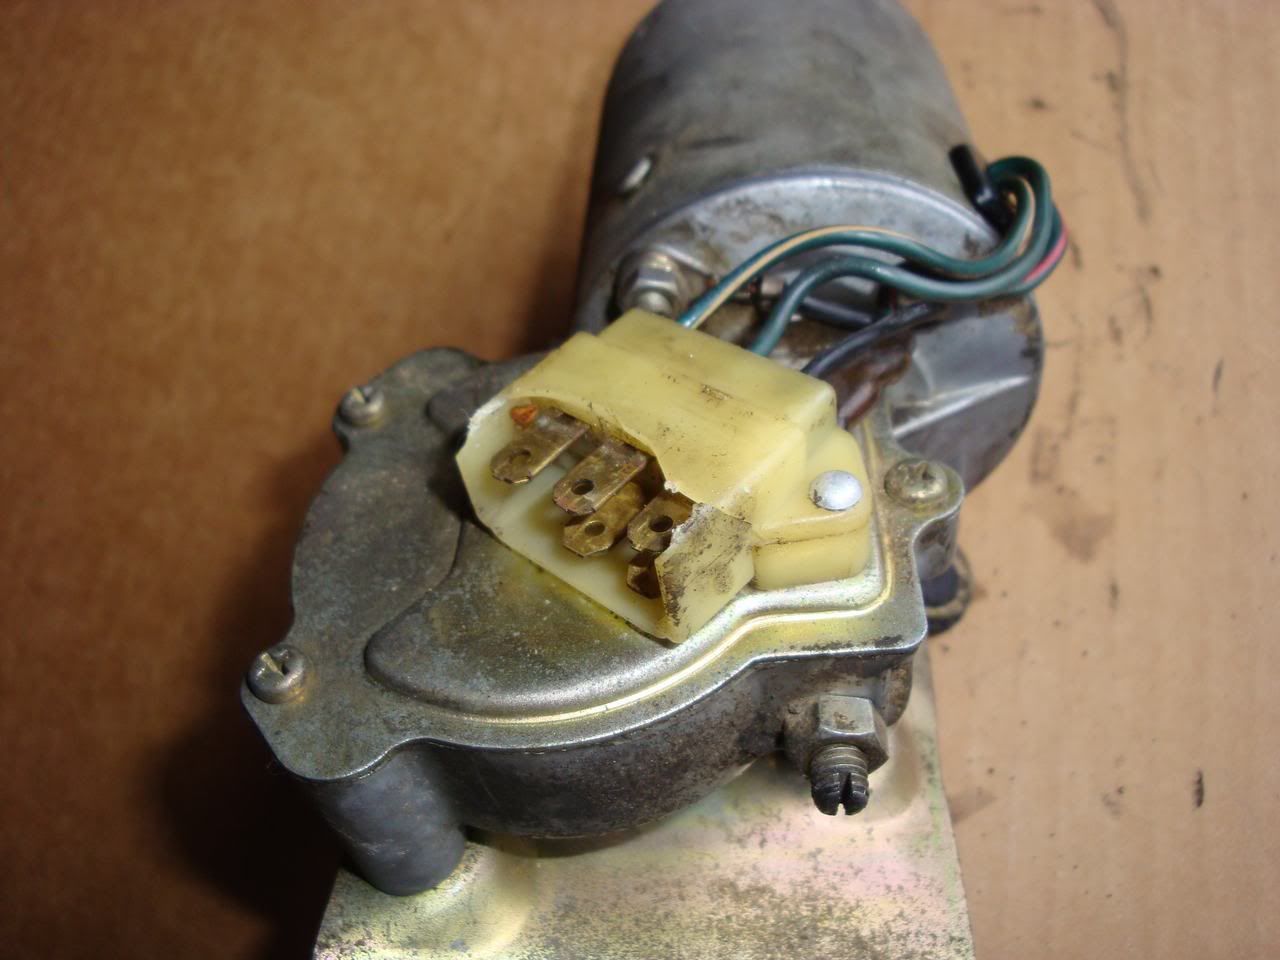
http://i297.photobucket.com/albums/mm219/ddgonzal/Datsun%201200/wiper/20100207103644DSC08453.jpg
Disassembly
Remove the 10mm nut and washer from the shaft and wiggle the arm off
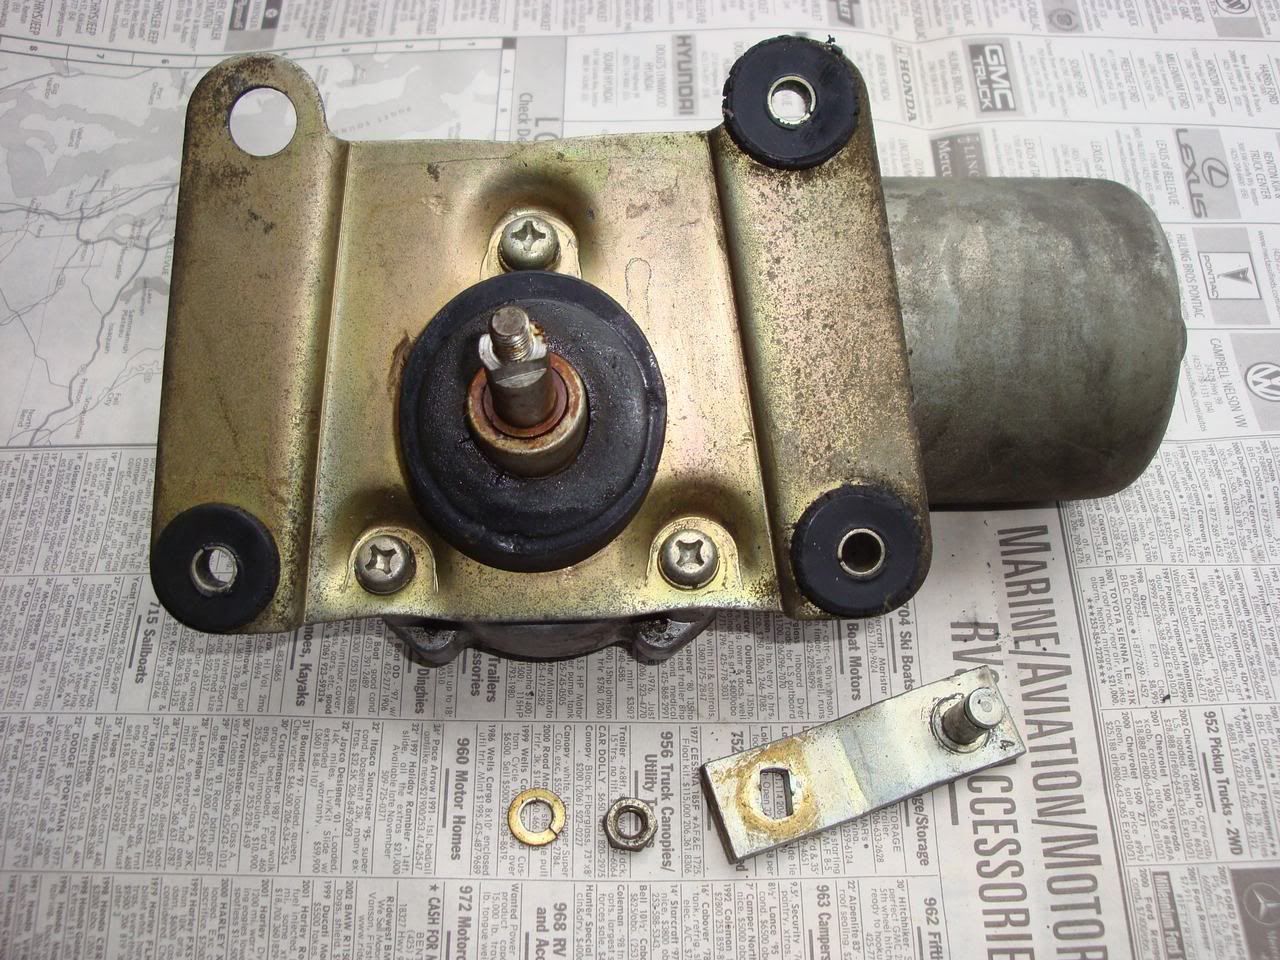
http://i297.photobucket.com/albums/mm219/ddgonzal/Datsun%201200/wiper/20100207103942DSC08459.jpg
Break the three large philips-head screws loose with a Vice-Grips, then remove them with a screwdriver
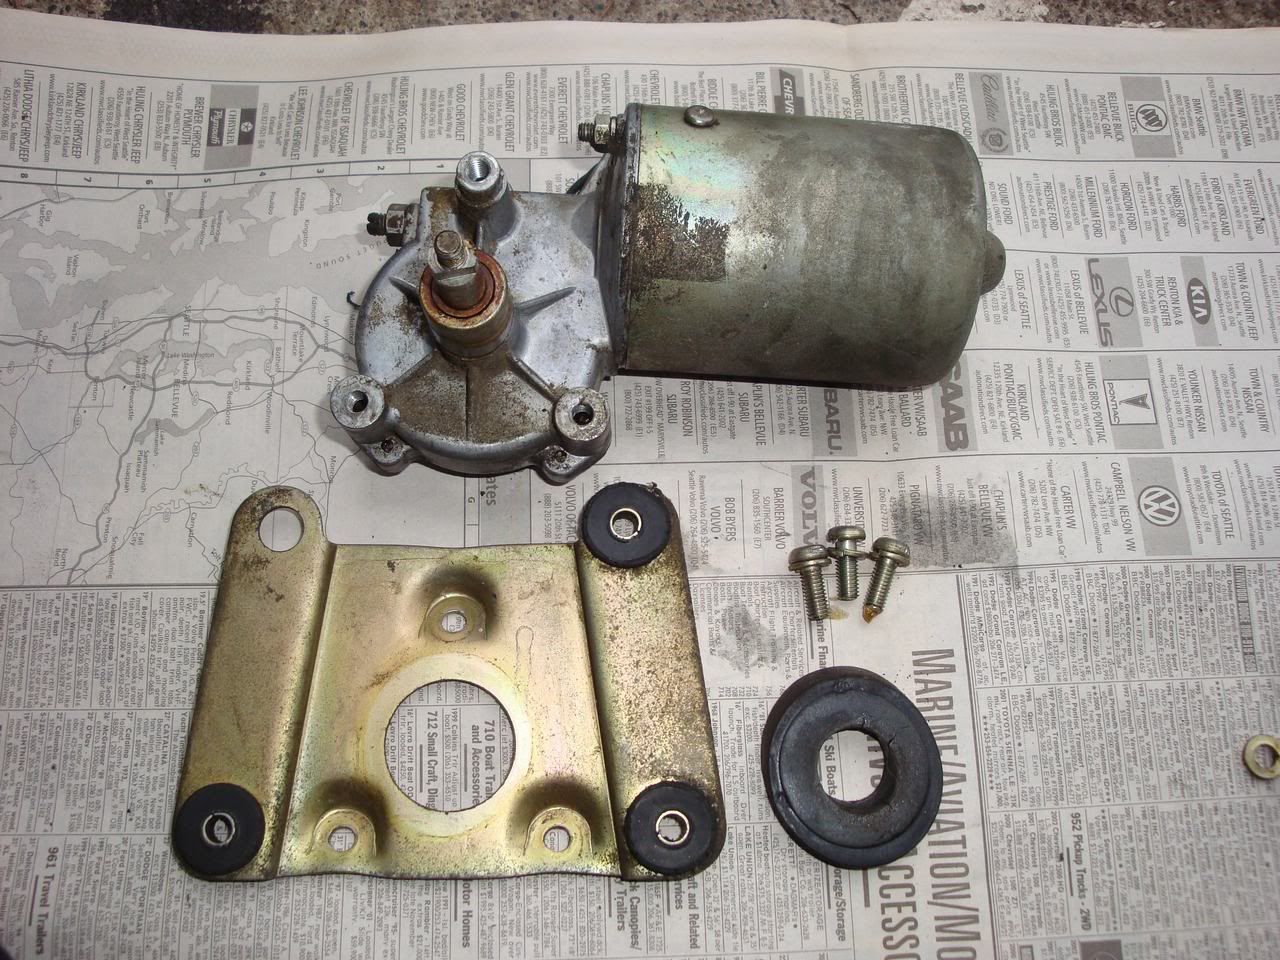
http://i297.photobucket.com/albums/mm219/ddgonzal/Datsun%201200/wiper/20100207104117DSC08460.jpg
The bracket and large shaft seal comes off
Remove any rust from the shaft, as it will contaminate the bushing later on unless cleaned
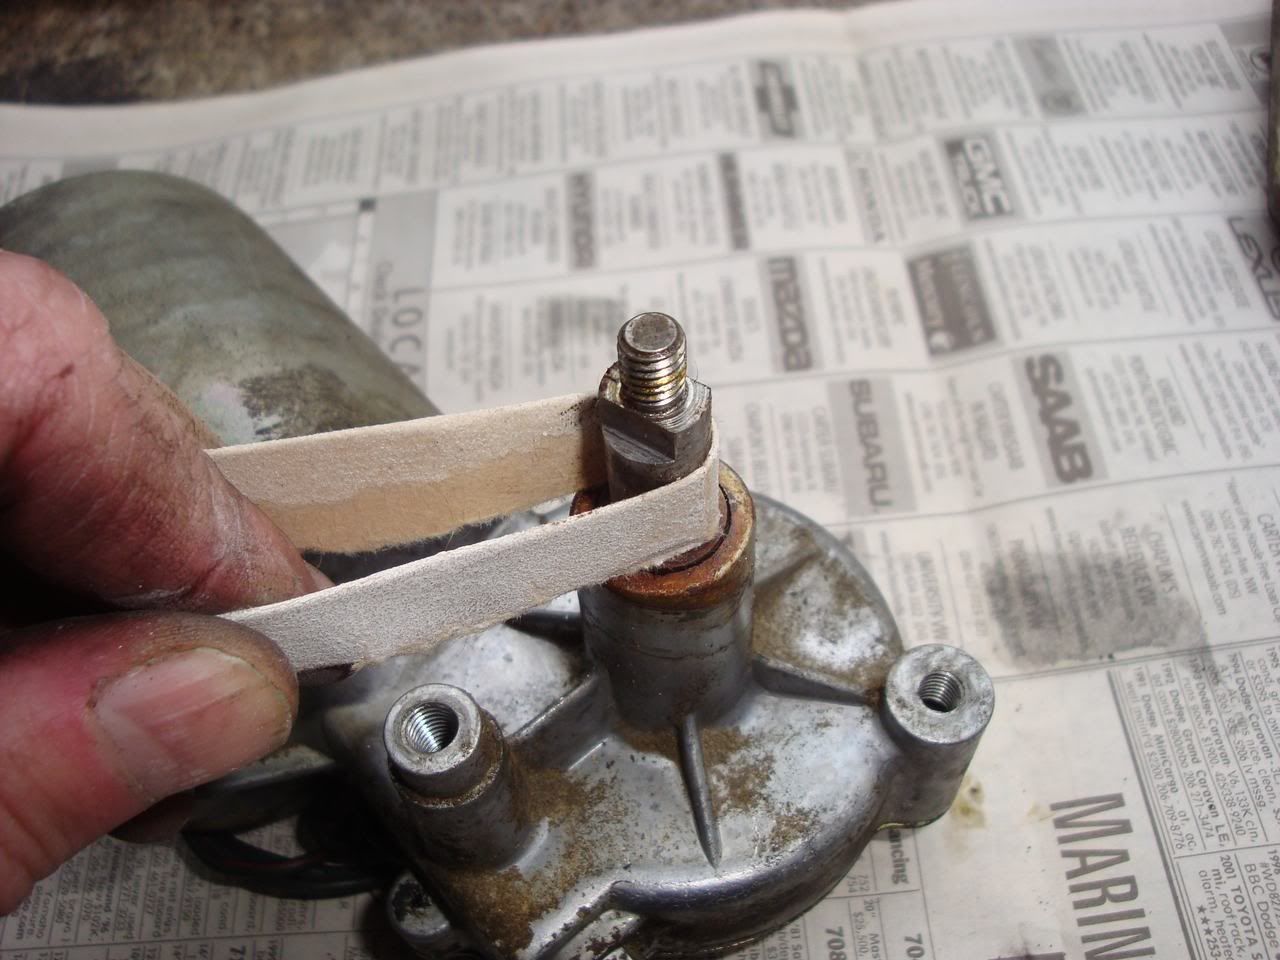
http://i297.photobucket.com/albums/mm219/ddgonzal/Datsun%201200/wiper/20100207104243DSC08461.jpg
Remove the three gearbox screws.
Then, flip the cover out of the way to reveal the gears
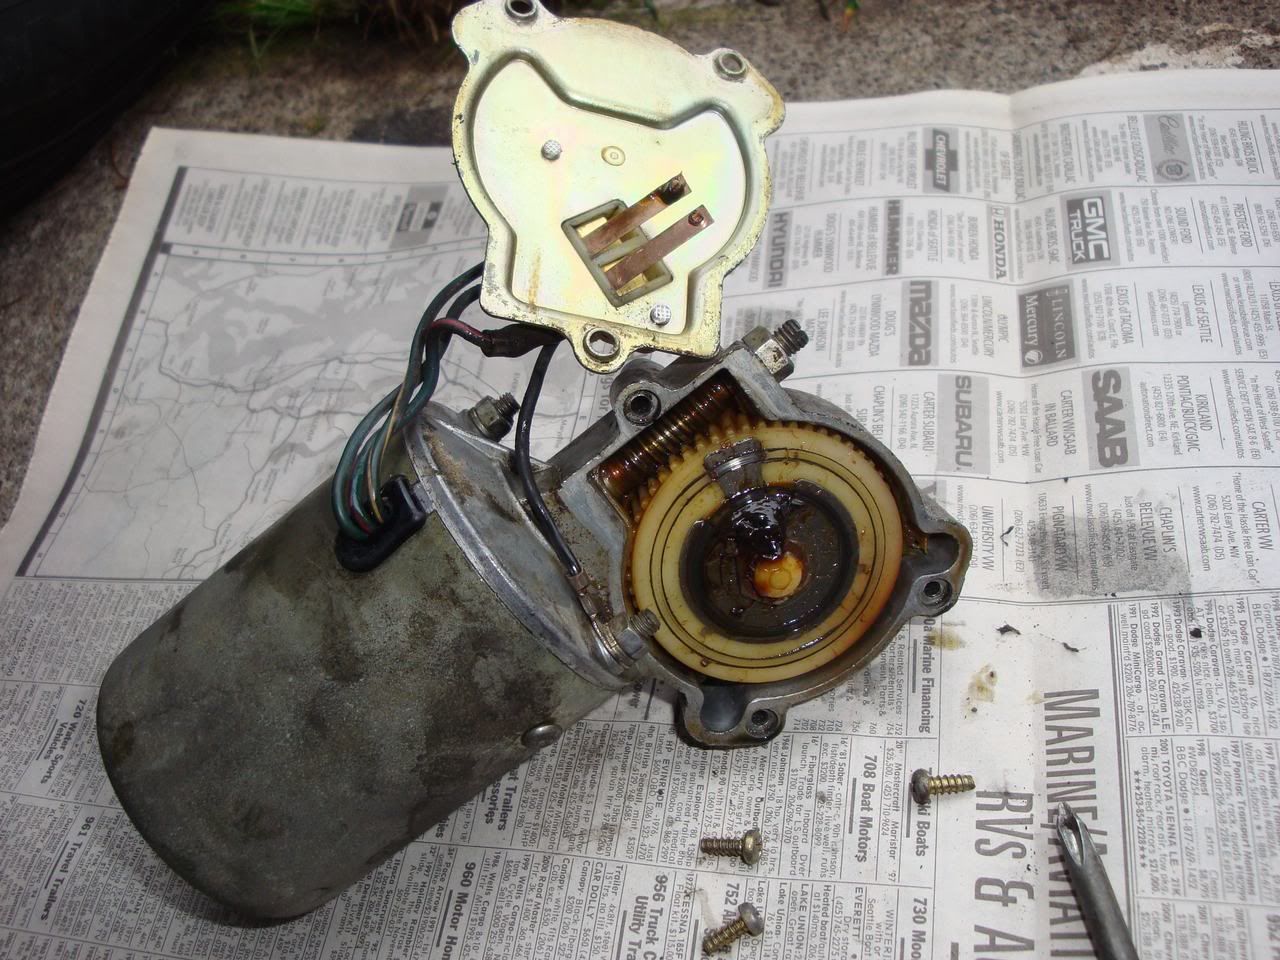
http://i297.photobucket.com/albums/mm219/ddgonzal/Datsun%201200/wiper/20100207104531DSC08463.jpg
Don't lose the plastic gear end cap (arrow)
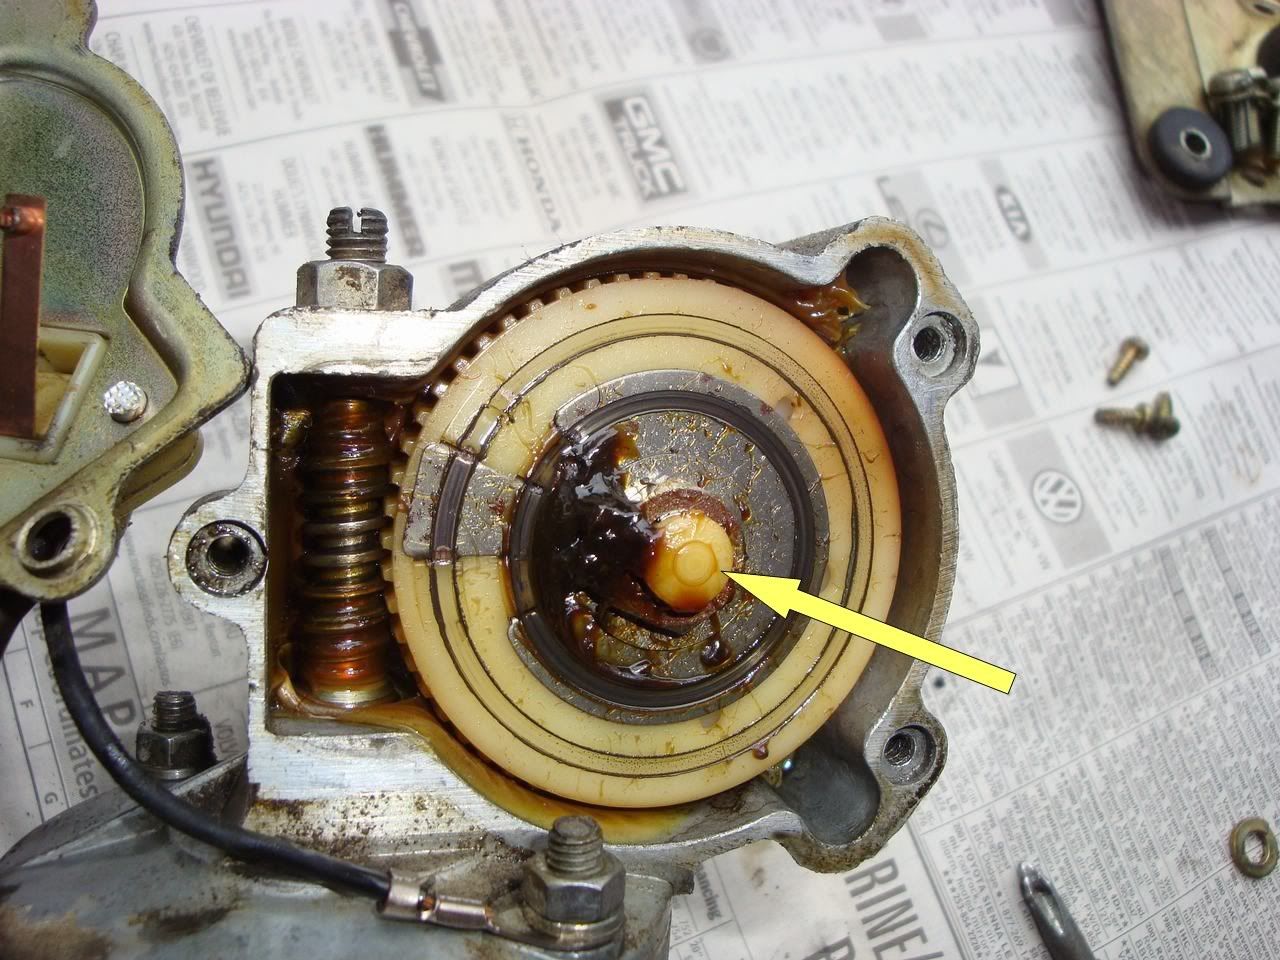
http://i297.photobucket.com/albums/mm219/ddgonzal/Datsun%201200/wiper/20100207104623DSC08465.jpg
Remove the two 8mm nuts holding the motor housing to the gearbox
Then pull the motor from the gearbox
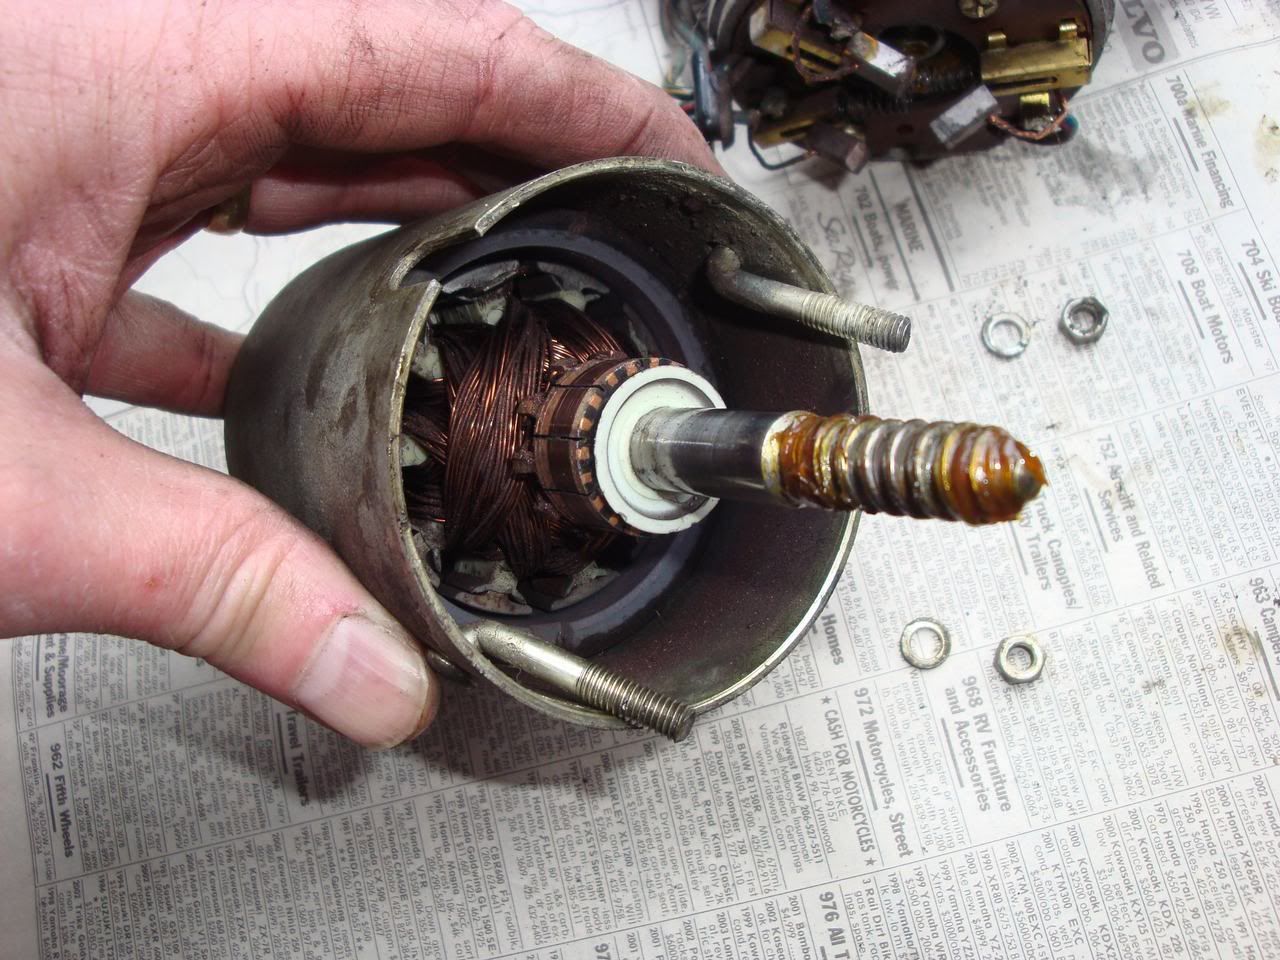
http://i297.photobucket.com/albums/mm219/ddgonzal/Datsun%201200/wiper/20100207105039DSC08473.jpg
The brush assembly stays with the gearbox
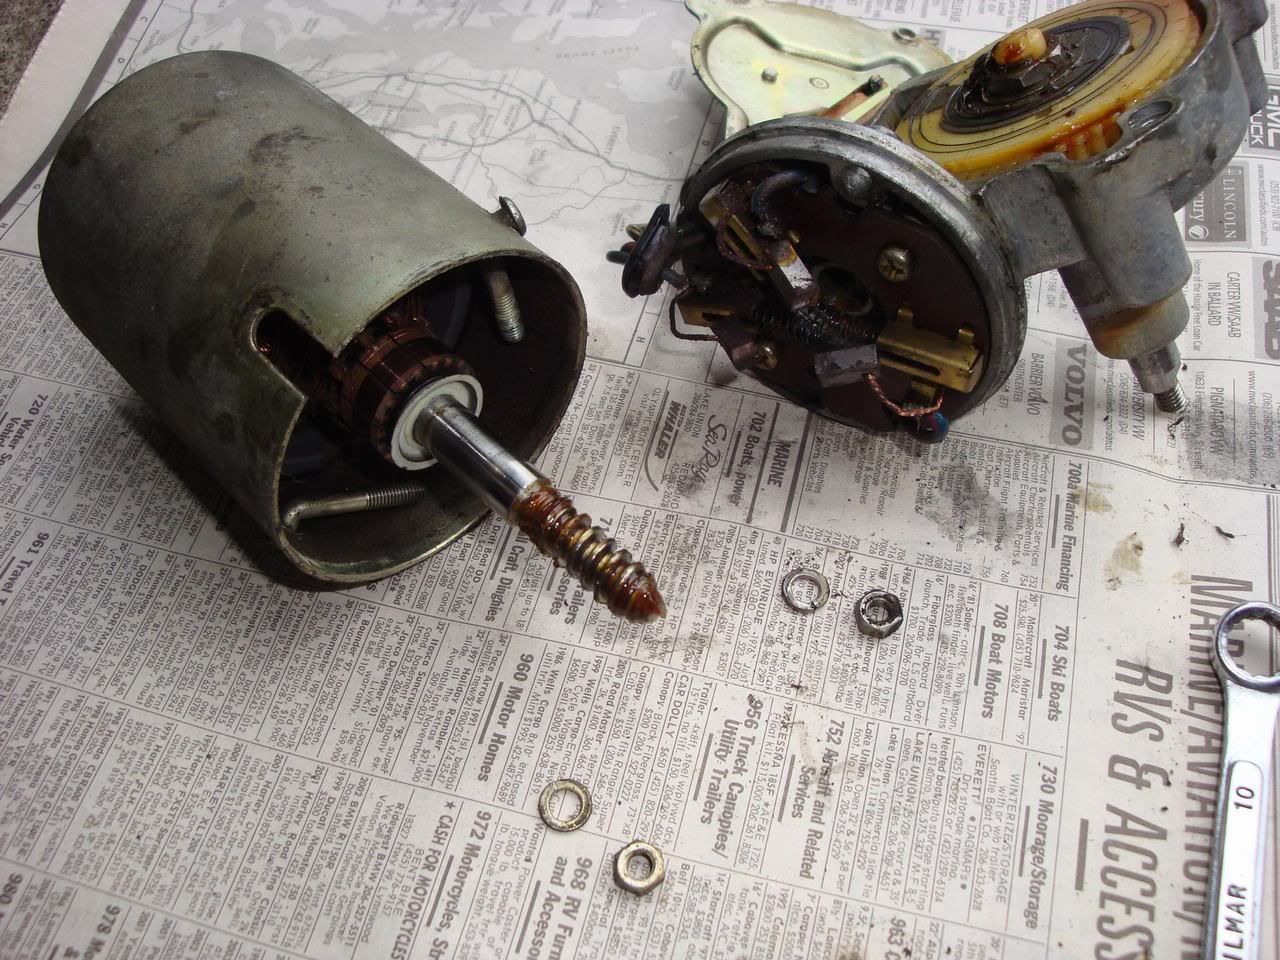
http://i297.photobucket.com/albums/mm219/ddgonzal/Datsun%201200/wiper/20100207104955DSC08470.jpg
Inspection and Lubrication
Pull the motor armature out of the permanent-magnet housing
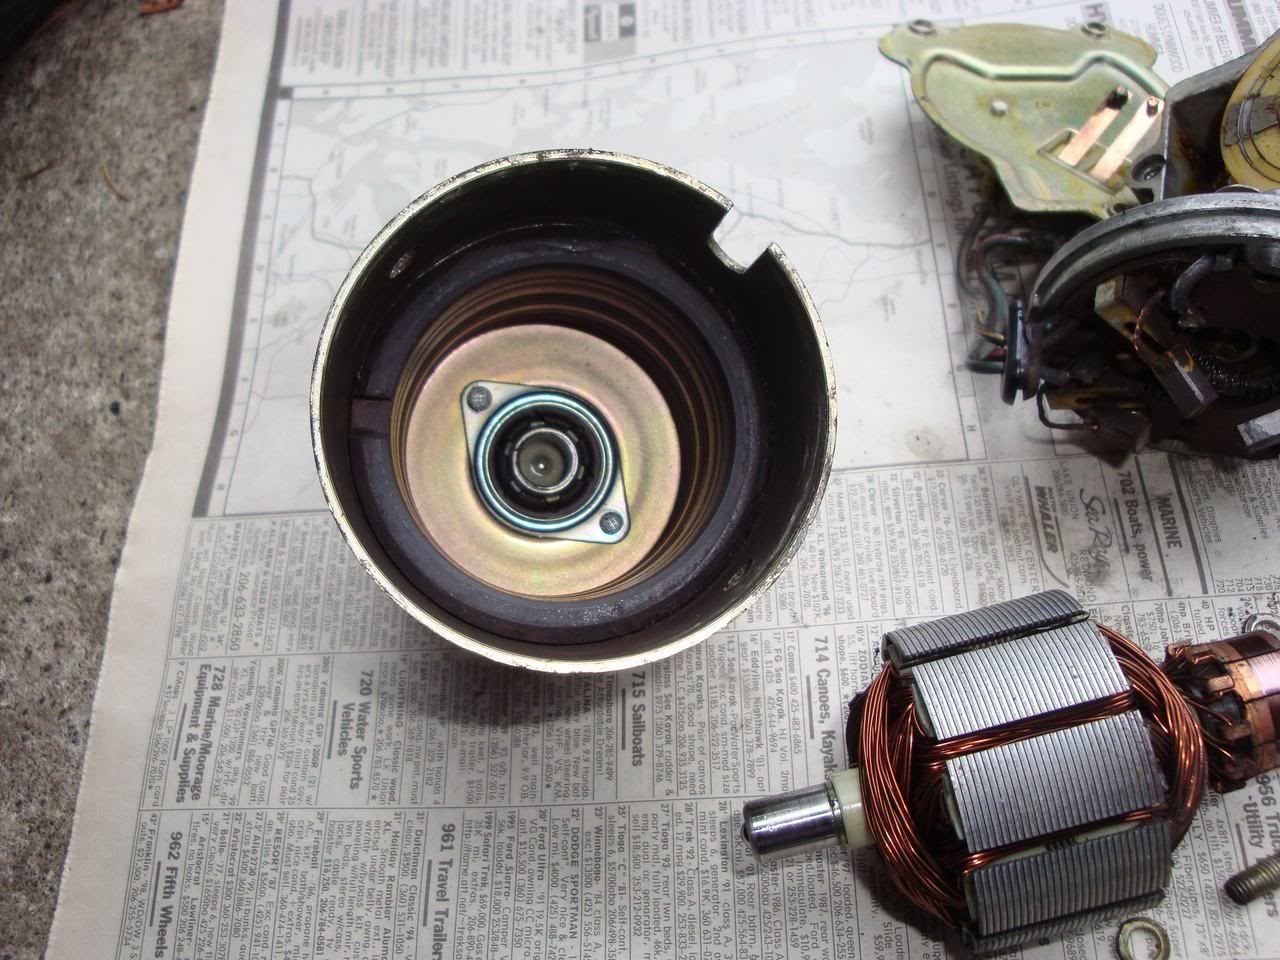
http://i297.photobucket.com/albums/mm219/ddgonzal/Datsun%201200/wiper/20100207105159DSC08474.jpg
Carefully wipe dust out of the housing (turn upside down, so that dust doesn't fall into the end bushing).
Put a small dab of grease in the bushing.
IMPORTANT: Note there is a small felt wash either in the bushing, or it may come out with the armature. Don't lose it.
The armature is a precision-balanced assembly. The shims are for balancing. Don't attempt to remove or loosen them.
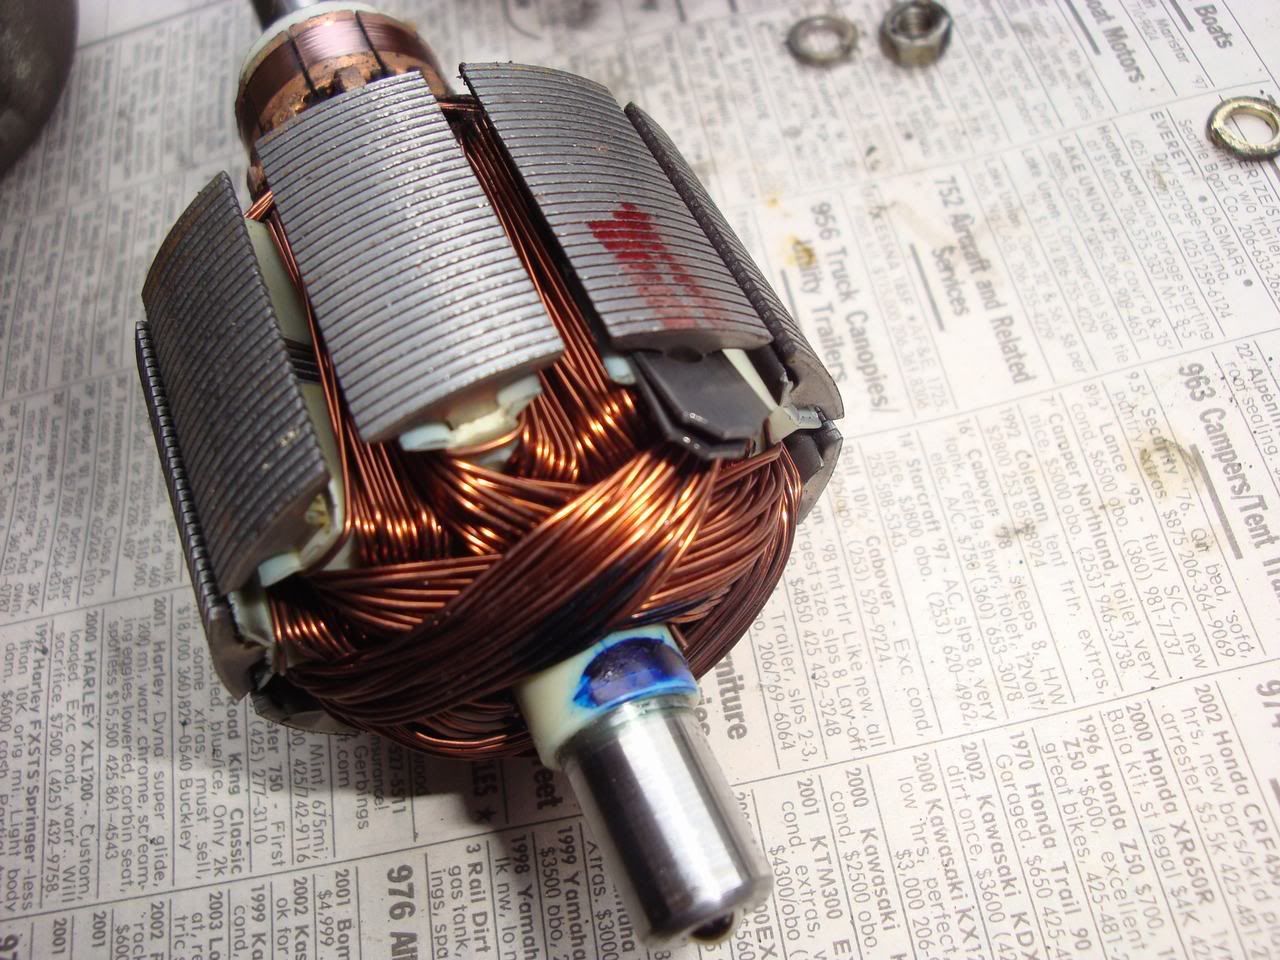
http://i297.photobucket.com/albums/mm219/ddgonzal/Datsun%201200/wiper/20100207105414DSC08486.jpg
If the brushes are still long (as in photo), no need to replace them.
Make sure there is no grease (not even a spec) on the brushes.
Pull them back against the spring, and hook the wire around the guide to hold them.
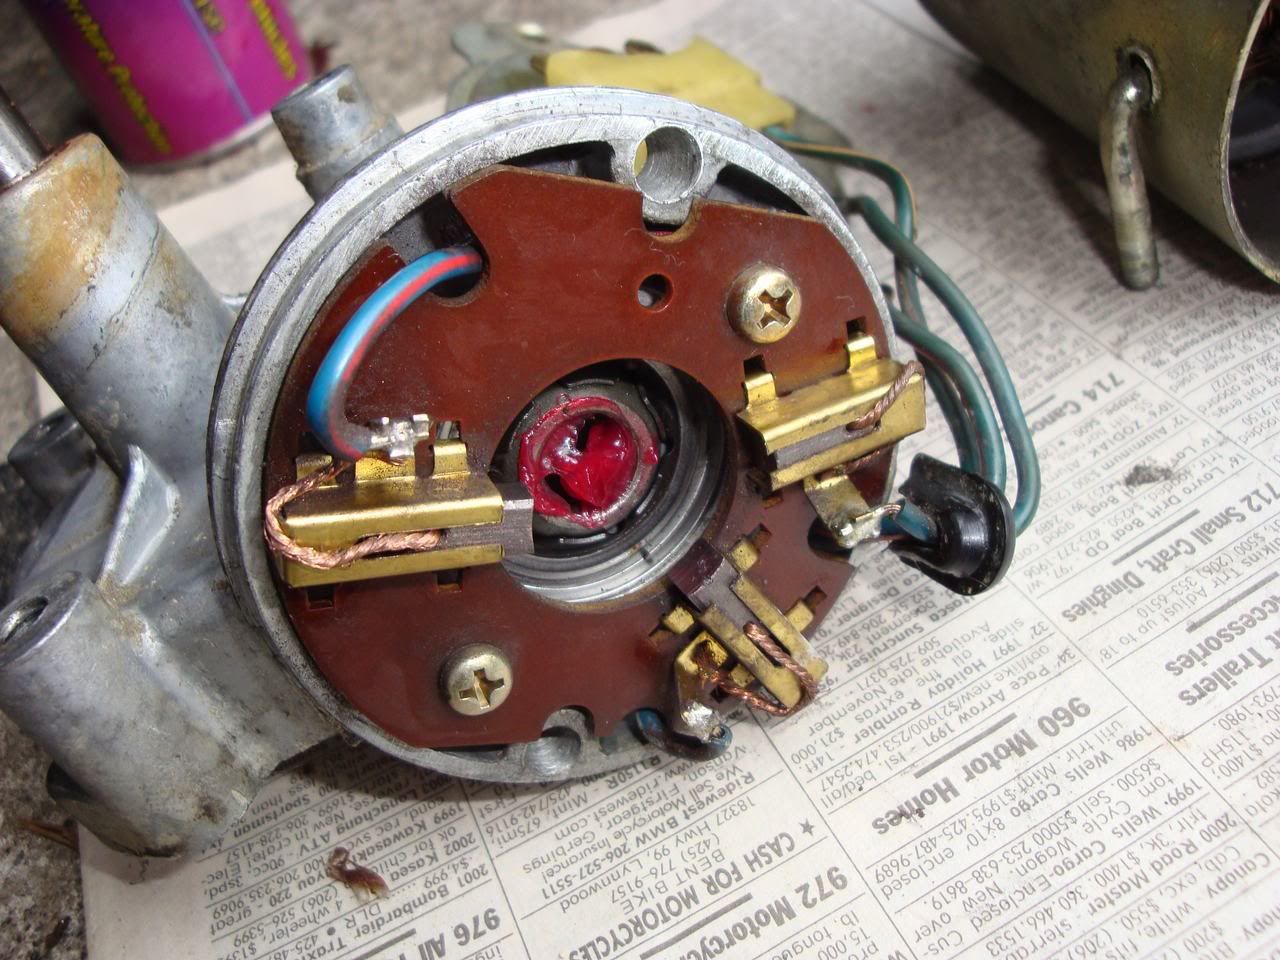
http://i297.photobucket.com/albums/mm219/ddgonzal/Datsun%201200/wiper/20100207110809DSC08488.jpg
Then put a dab of grease in the gearbox shaft bushing.
Insert the armature into the gearbox, then unhook the brush wires.
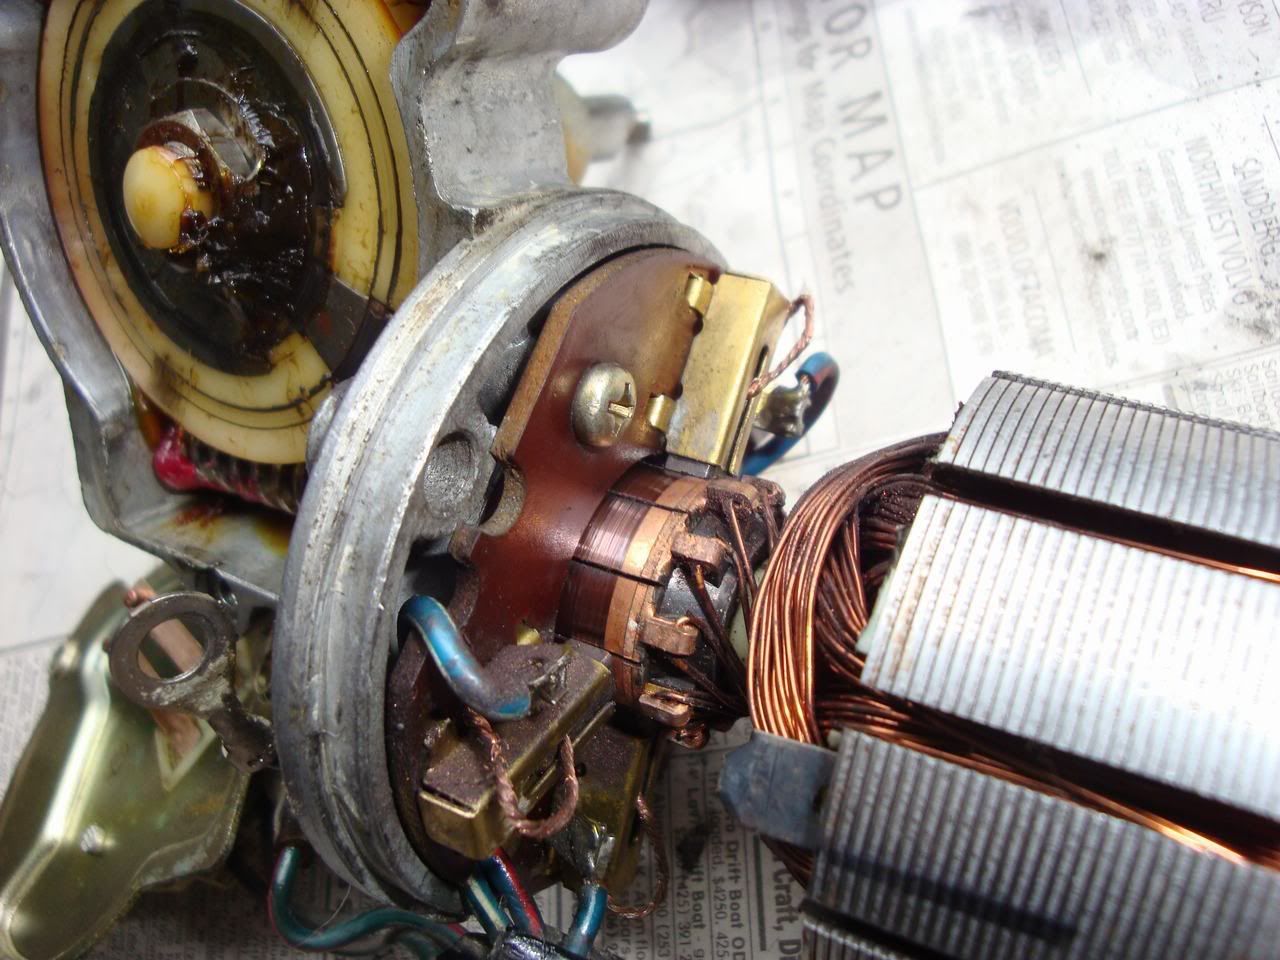
http://i297.photobucket.com/albums/mm219/ddgonzal/Datsun%201200/wiper/20100207111152DSC08492.jpg
Push the drive gear out. If there is plenty of grease, and it is still soft, all is good. Just put some grease on the worm gear (end of motor shaft).
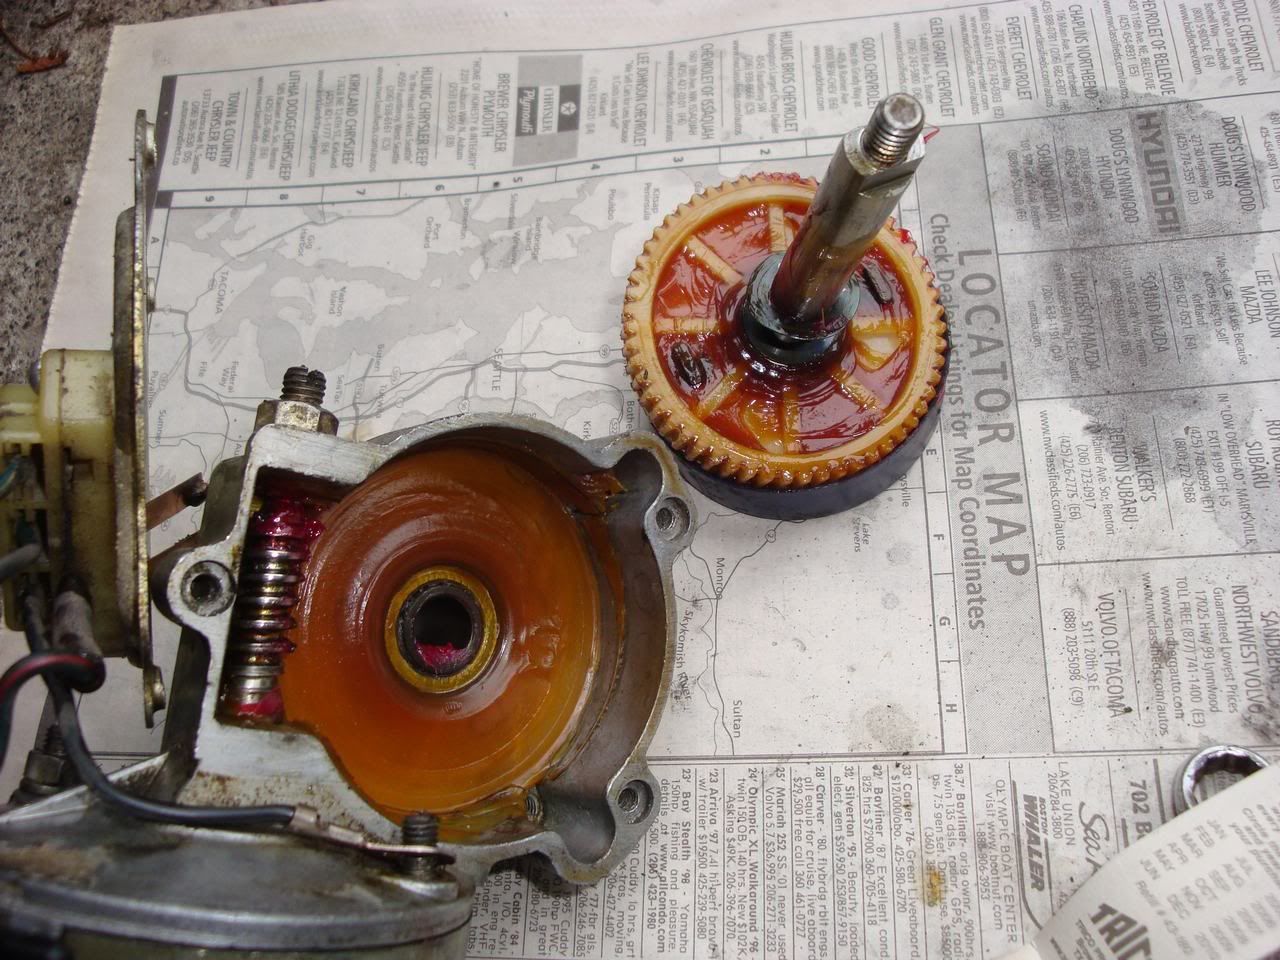
http://i297.photobucket.com/albums/mm219/ddgonzal/Datsun%201200/wiper/20100207112644DSC08493.jpg
Put some grease on the gear shaft, then replace the gear
TIP: place the gear in the same position as it was when removed to make it easier to line up the shaft arm correctly. Otherwise you'll have to move the wipers until all lines up.
http://i297.photobucket.com/albums/mm219/ddgonzal/Datsun%201200/wiper/20100207104623DSC08465.jpg
Don't forget the plastic cap (arrow)
Re-assembly
Place a screwdrive in the worm gear so it won't pull out.
Carefully slip the the motor housing over the armature
Be sure to line up the housing bolts, which flop around
IMPORTANT: Ensure the felt washer is in place.
NOTE: if the armature pulls out of the brushes, you'll have to clean the brushes again and start over. Make sure there is no grease (not even a spec) on the brushes.
Here's a photo from previous step, showing the floppy through-bolts.
http://i297.photobucket.com/albums/mm219/ddgonzal/Datsun%201200/wiper/20100207105039DSC08473.jpg
Before tightening the motor housing bolts, break the shaft play-adjuster 10mm lock nut loose. Then turn out the adjuster a bit using a flat screwdriver in the slotted end.
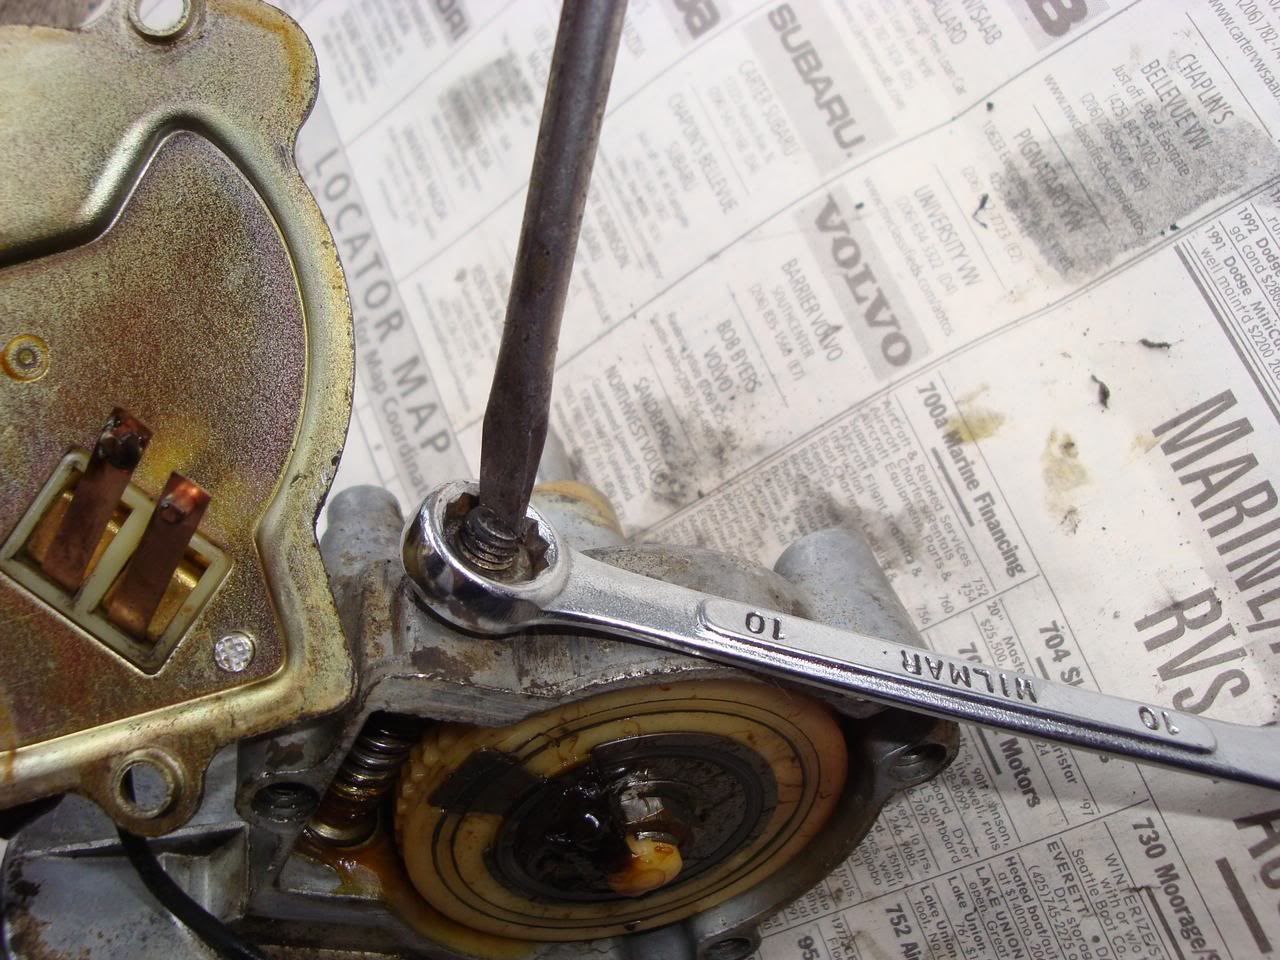
http://i297.photobucket.com/albums/mm219/ddgonzal/Datsun%201200/wiper/20100207104759DSC08466.jpg
Tighten the two motor housing 8mm nuts.
Then replace the gearbox cover.
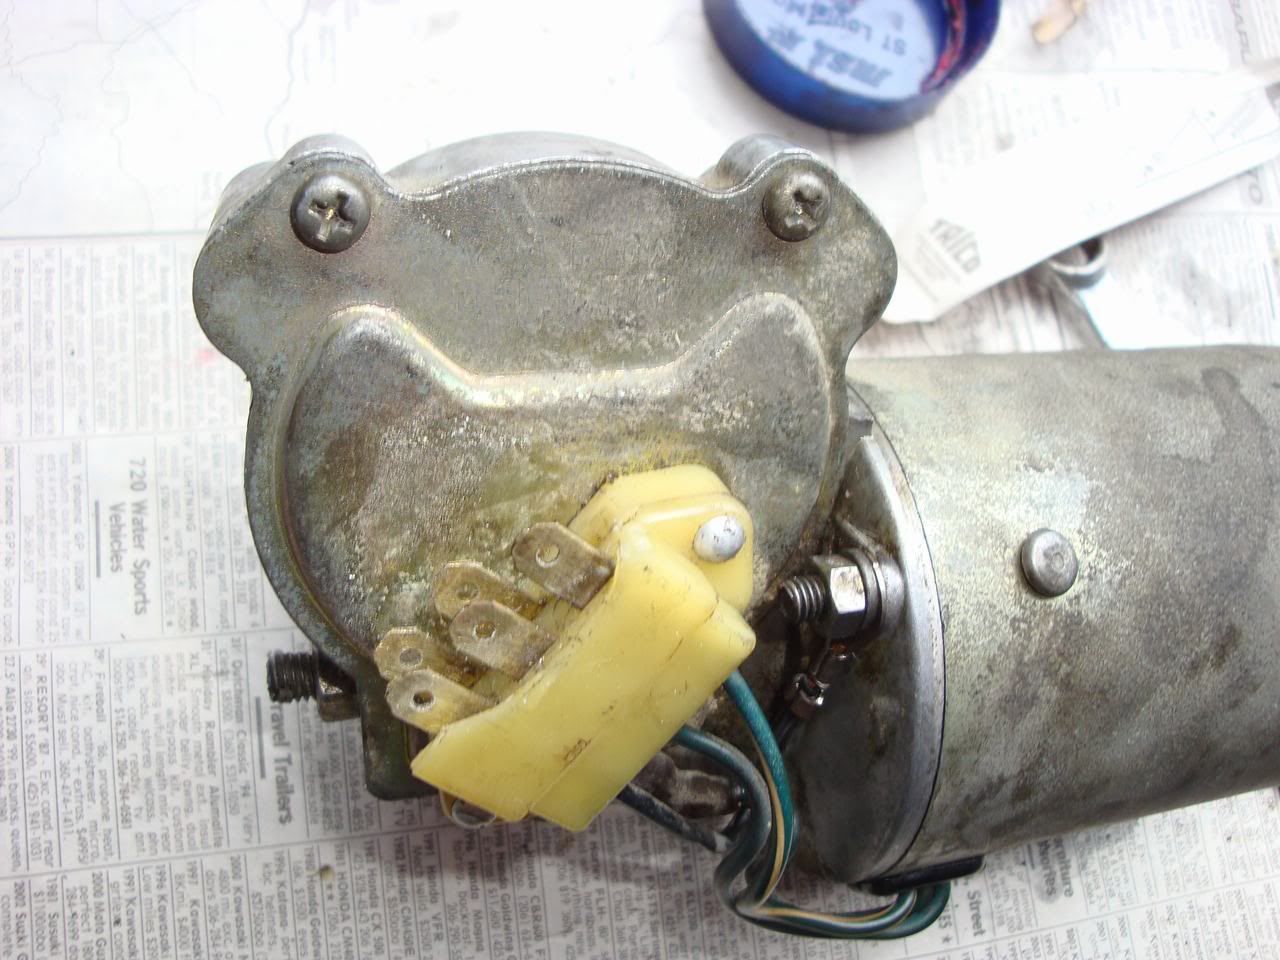
http://i297.photobucket.com/albums/mm219/ddgonzal/Datsun%201200/wiper/20100207113115DSC08495.jpg
Clean the five spade contacts with sandpaper or electrical contact cleaner, for best, faster operation.
IMPORTANT: Set shaft end-play. While holding the 10mm nut, lightly turn in the shaft with a flat screwdriver. When it stops, turn back just a touch (1/16 turn). Tighten the locknut.
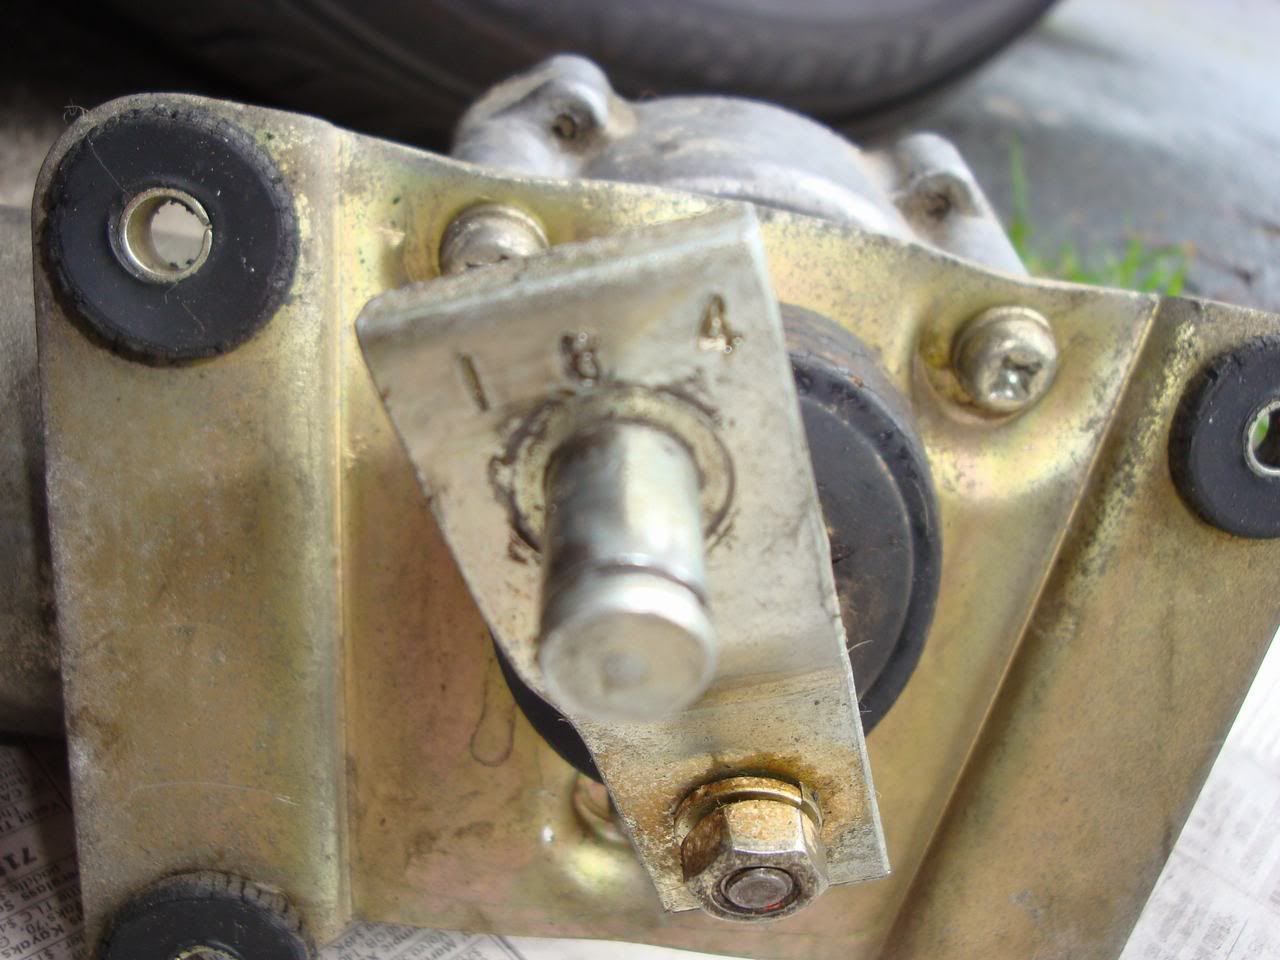
Replace the motor bracket and large seal. Use a dab of grease (or tacky seal-a-gasket) to hold the seal in position against the bracket.
Then put the shaft arm back in same position as removed (should be as in photo if you removed it while the wipers were in the parked position)
http://i297.photobucket.com/albums/mm219/ddgonzal/Datsun%201200/wiper/20100207113441DSC08497.jpg
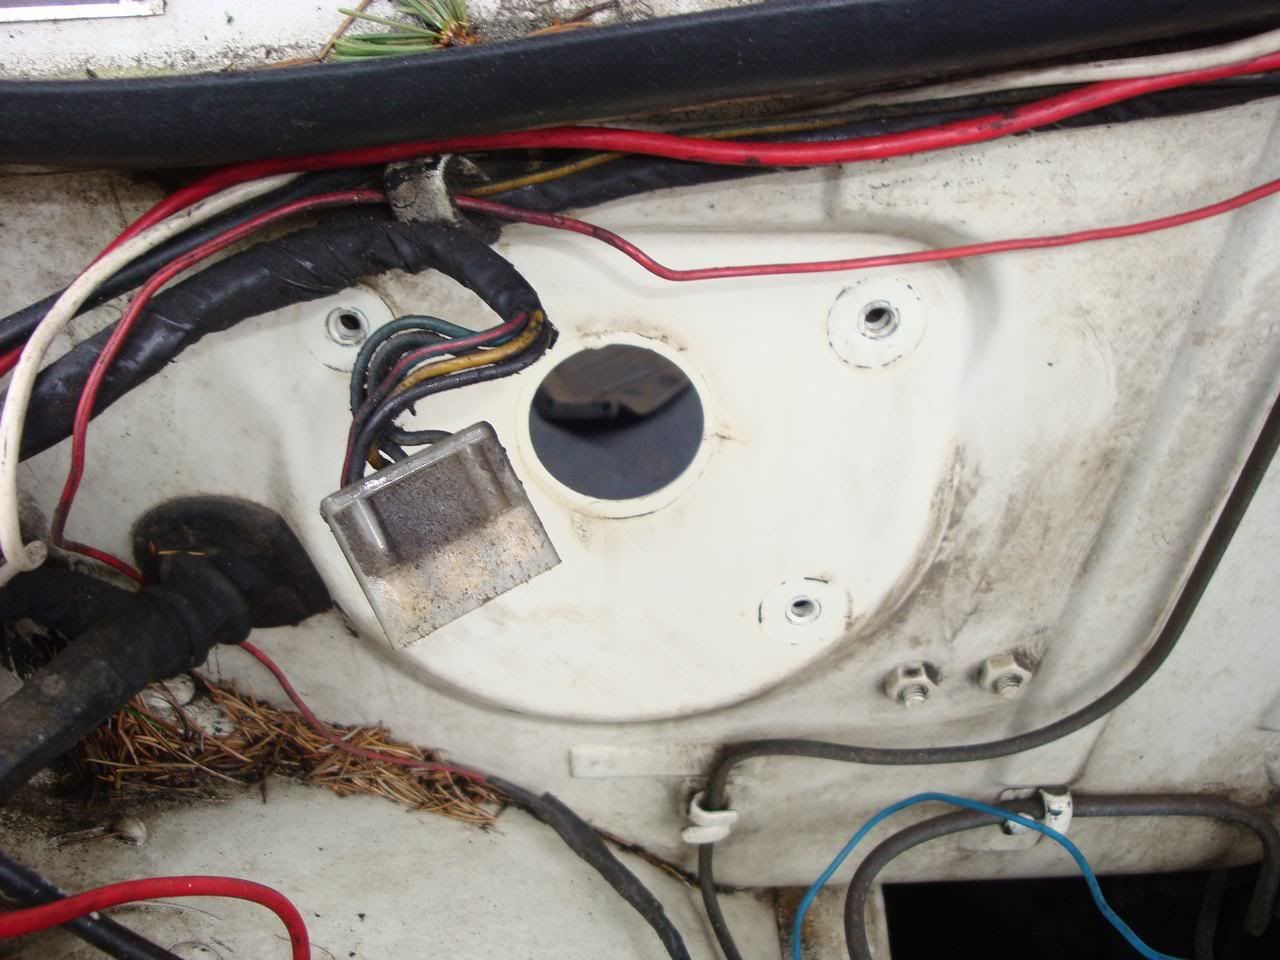
Place motor back into firewall. Fit the three 10mm screws.
http://i297.photobucket.com/albums/mm219/ddgonzal/Datsun%201200/wiper/20100207113857DSC08498.jpg
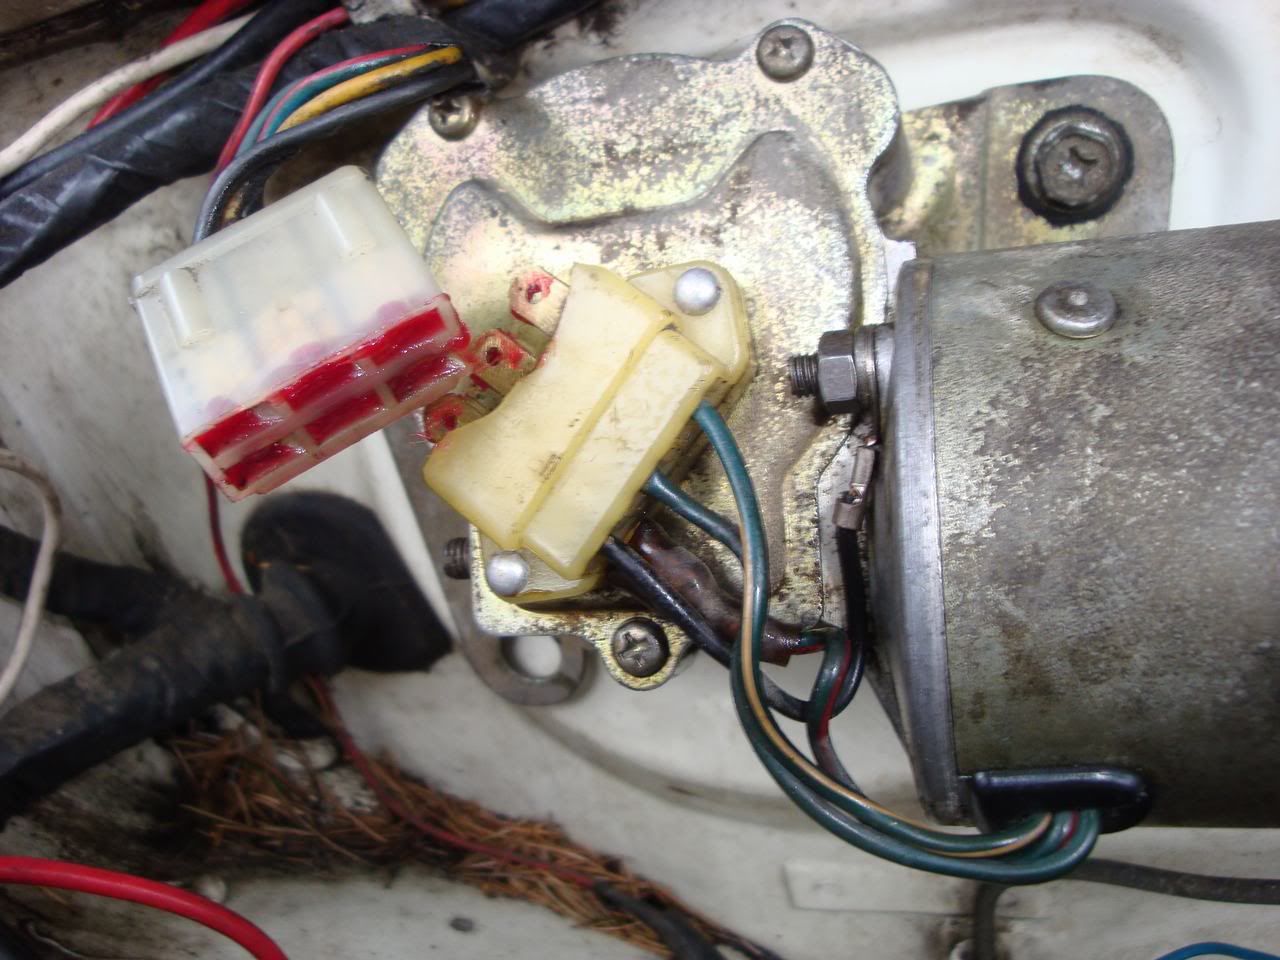
To keep the newly-cleaned spade contacts from corroding, place grease into the connector
http://i297.photobucket.com/albums/mm219/ddgonzal/Datsun%201200/wiper/20100207114547DSC08500.jpg
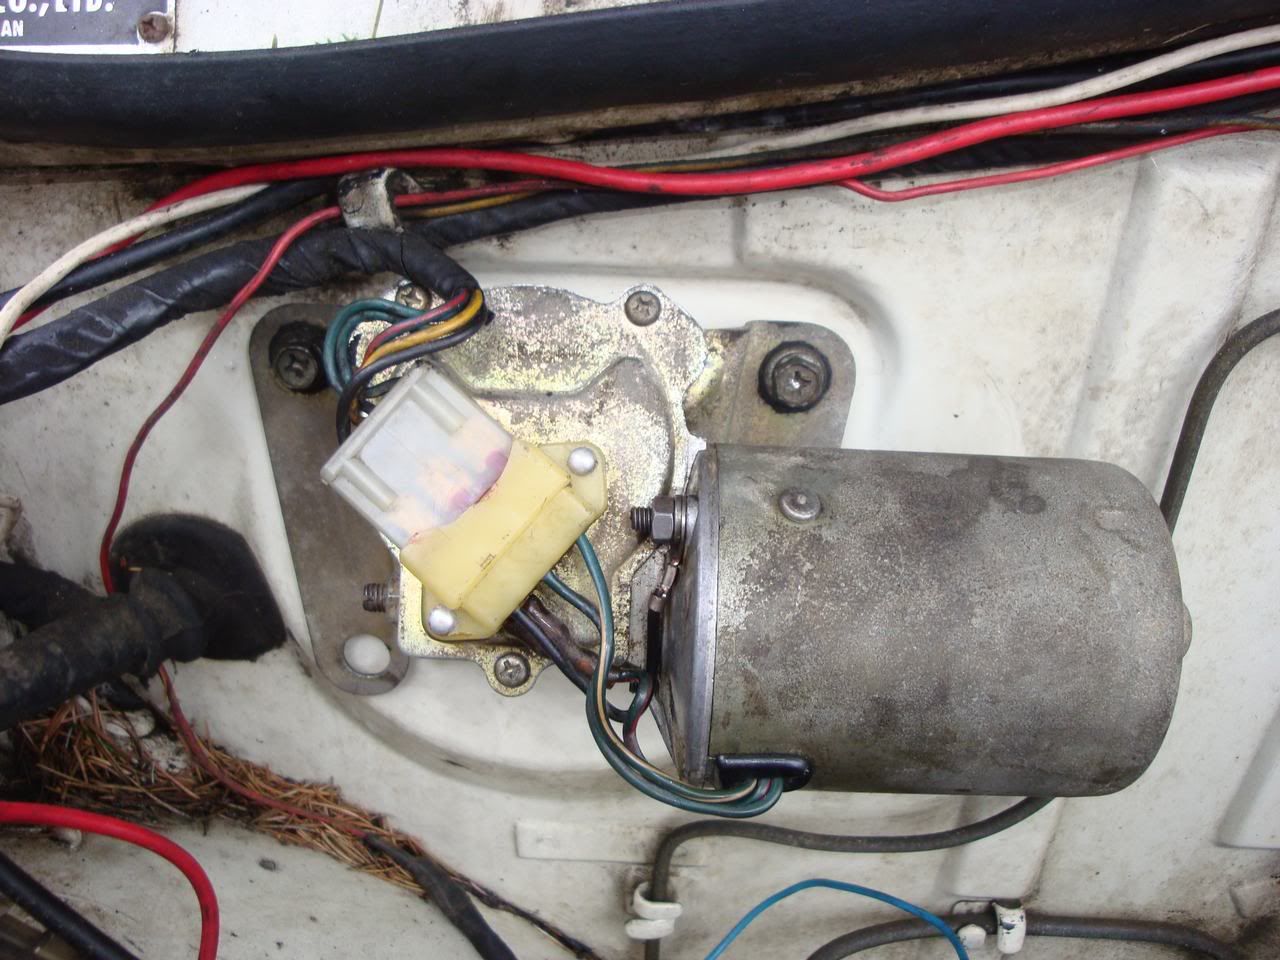
Broken connectors are not such a problem as the harness connector fits in tight
http://i297.photobucket.com/albums/mm219/ddgonzal/Datsun%201200/wiper/20100207114612DSC08501.jpg
Back in the cabin, lube the interior wiper linkage, then clip onto the wiper arm.
Replace the interior wiper linkage cover.
Pour some water on the windscreen, then test the motor operation.